'Overnight Sensations' Build
Christening my website with this Overnight Sensations build. These bookshelf speakers are famous for being a great first DIY build. A long time colleague and friend of mine is a real audiophile (see these speakers he designed and built) and I finally caught the bug and decided to build a pair of my own. I purchased a kit online and worked on it over the course of a month. My ears are happy, I’m happy, and I hope you’re happy.
Cabinets
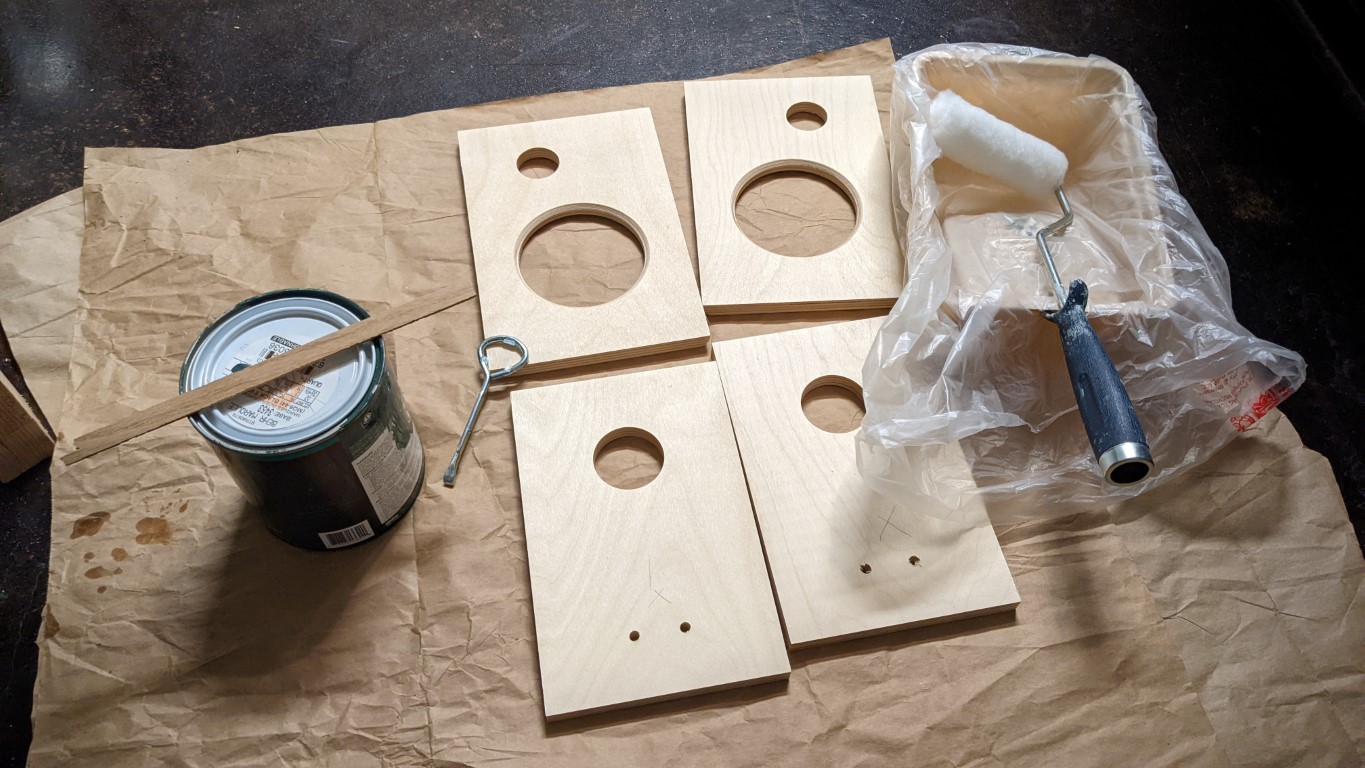
Normally when I get a kit I take pictures of all the components first, but this time around I got a bit excited and forgot to do that… The kit came with machined 1/2” birch plywood for the cabinets.
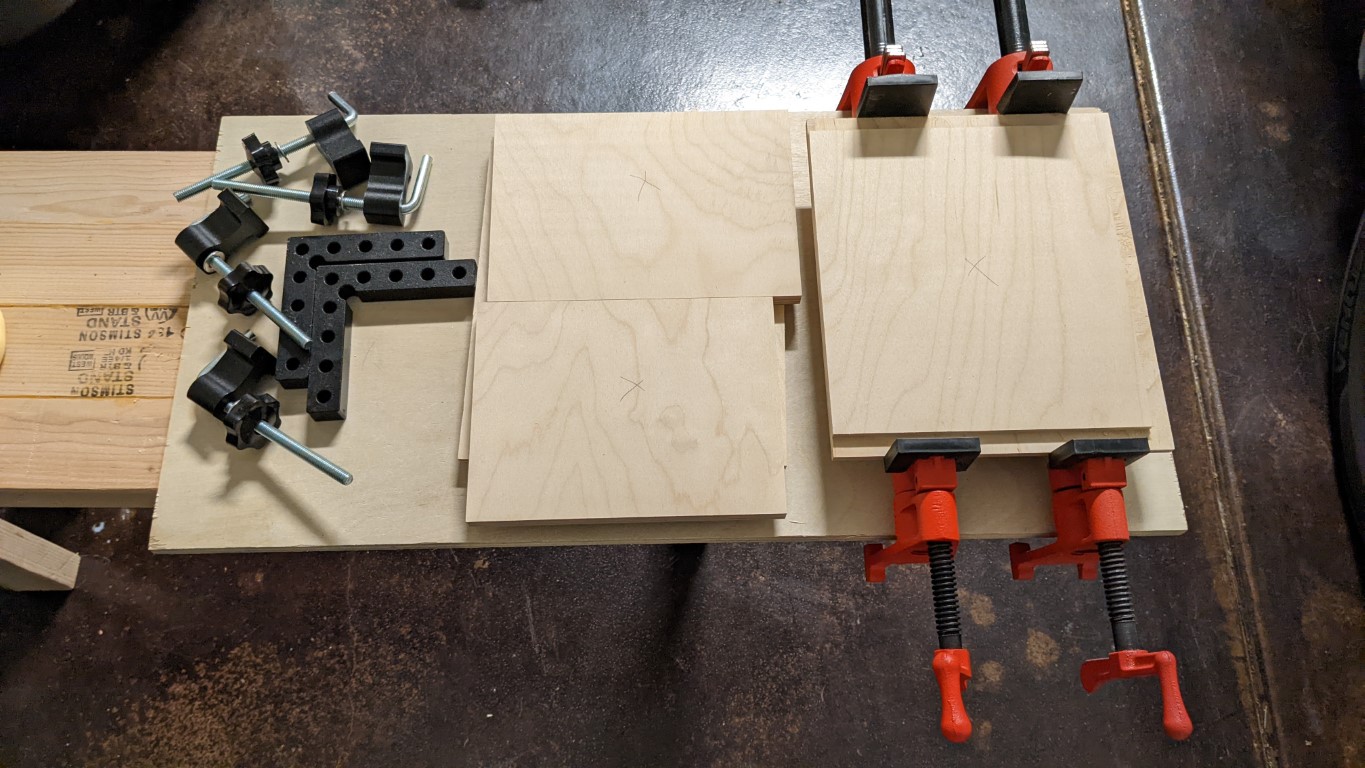
It’s good practice to plan your glue-up before you actually apply the first drop of glue – you can avoid a lot of mistakes that way. Lay out your pieces, grab all your tools, and figure out where clamps should go. I went through the panels and marked all the insides with x’s so that the better-looking sides will face outwards. Here I’m building off a narrow workbench and a plywood offcut, and I’ve balanced a pair of pipe clamps to hold one side while I prepare to glue in the top, bottom, and other side. The rabbets cut into the side panels made aligning things so easy I ended up not needing the pictured right-angle clamps.

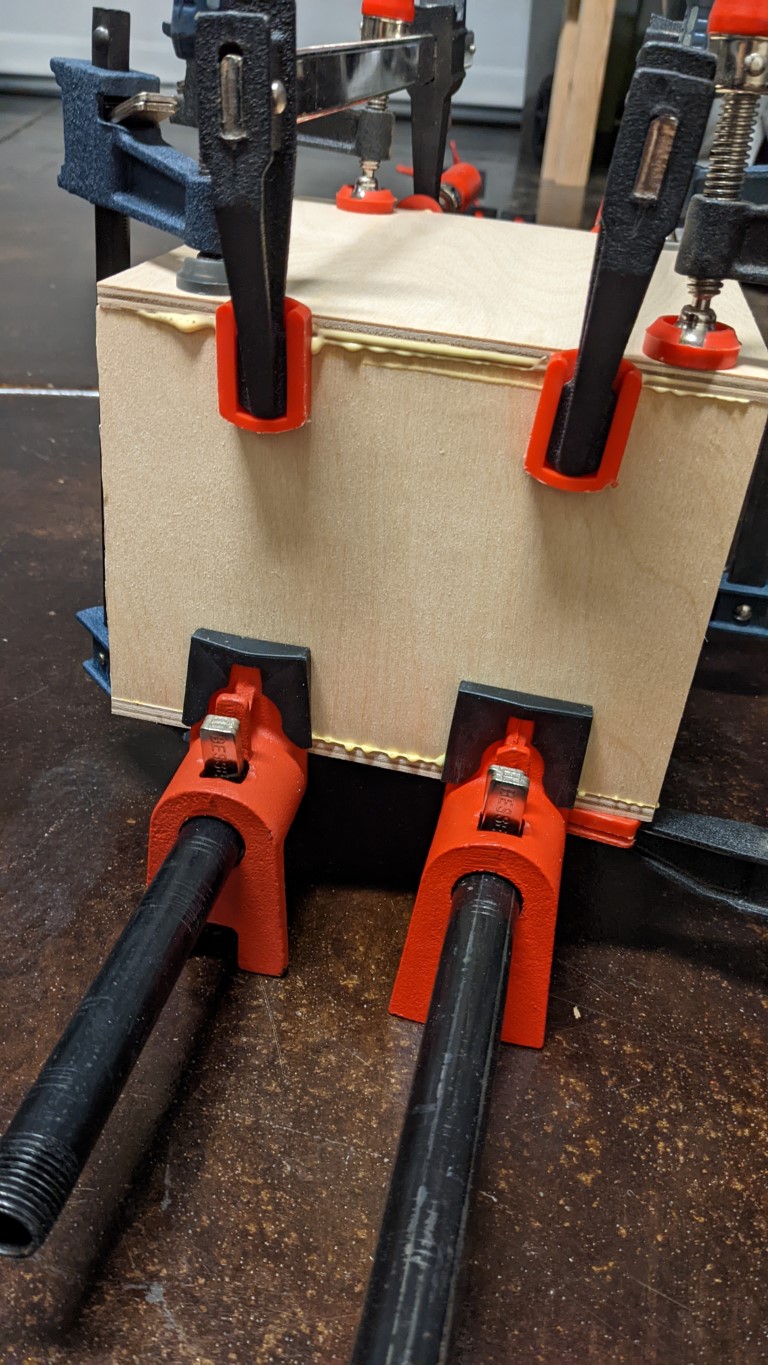
Always brush out your glue along the whole joint. Apply enough clamping pressure for some glue to squeeze out - don't clamp it so hard that you starve the joint though!
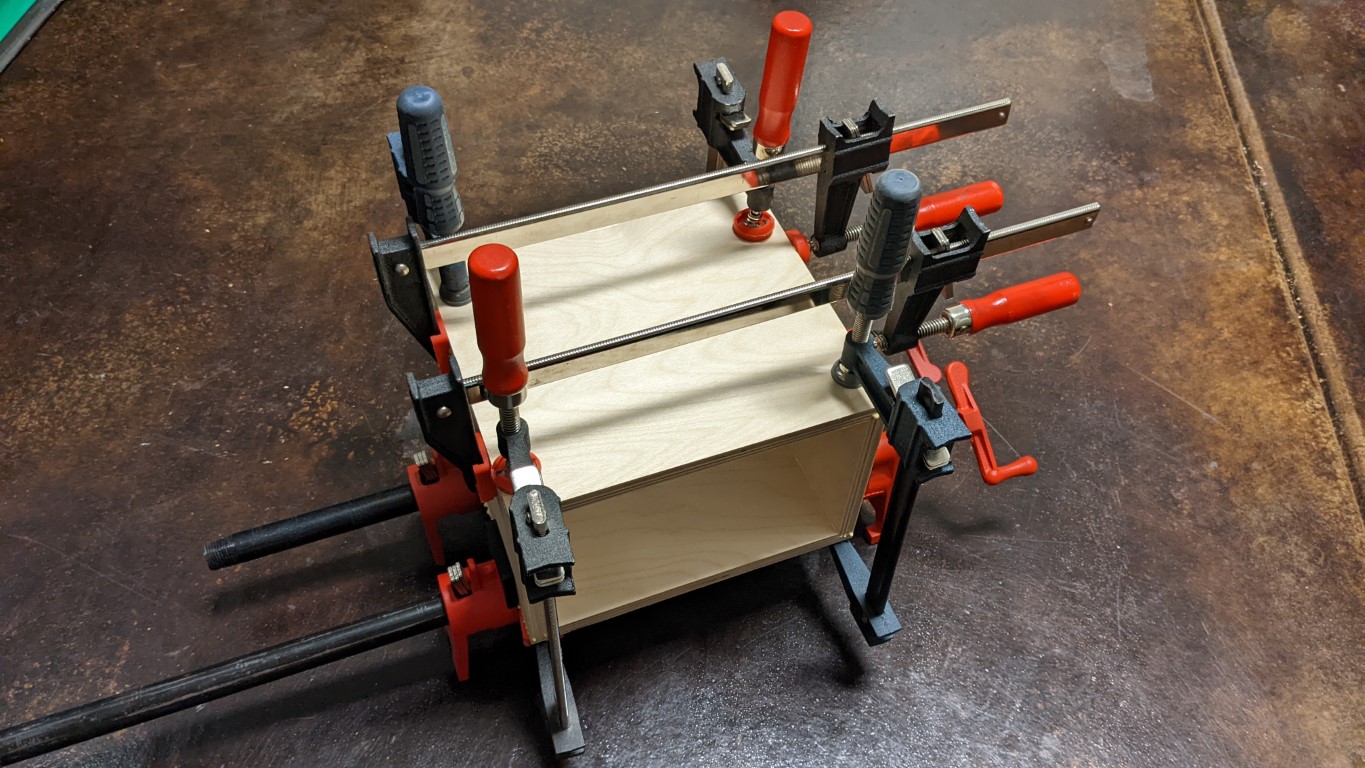
I probably should have also glued in the back at this stage, which would've helped keep things nice and square. Oh well. I clamped up the first box and set it aside while I built the second box off camera.
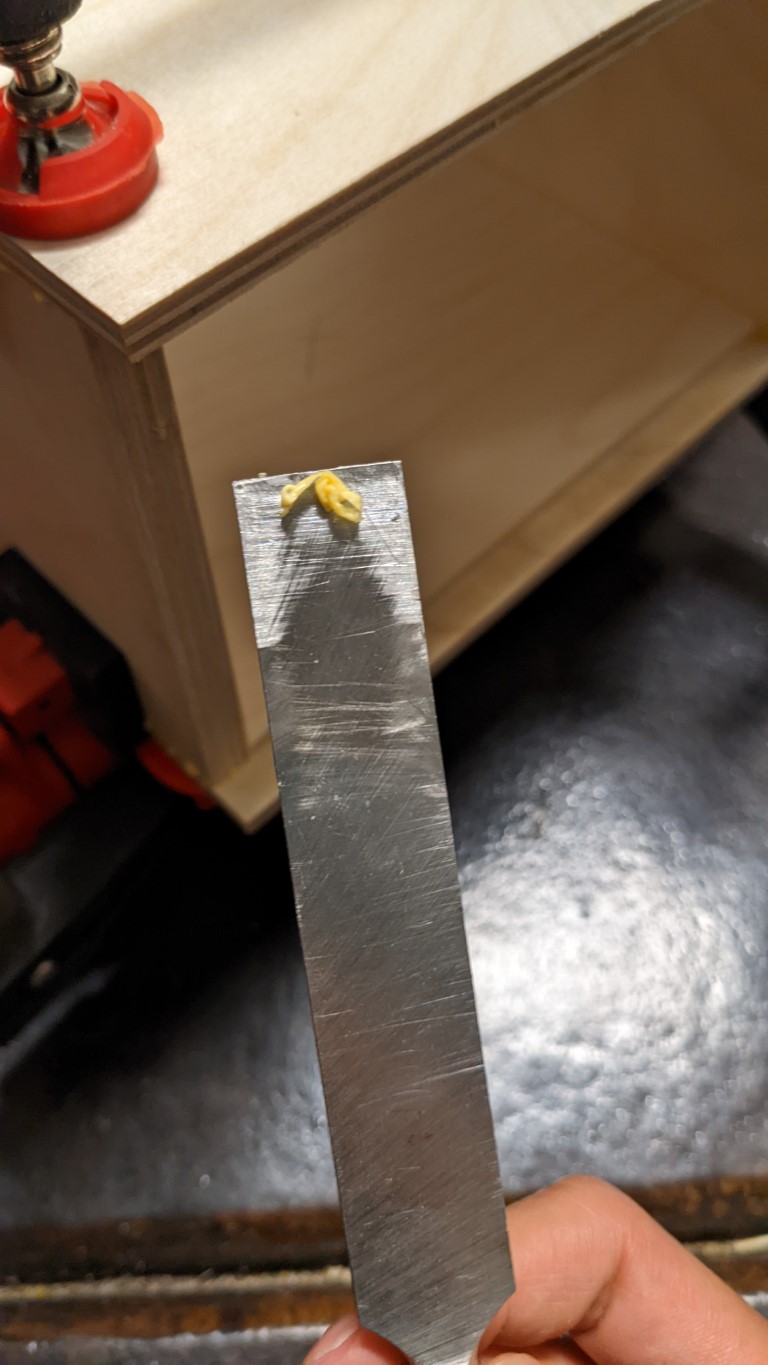
Every good glue joint should have squeeze out. For painted projects I typically wipe off the excess with a damp rag, but the residual diluted glue can film and cause uneven finishing. Since I plan to stain these speakers, I waited for the glue to dry partially and used a chisel to scrape off the glue.
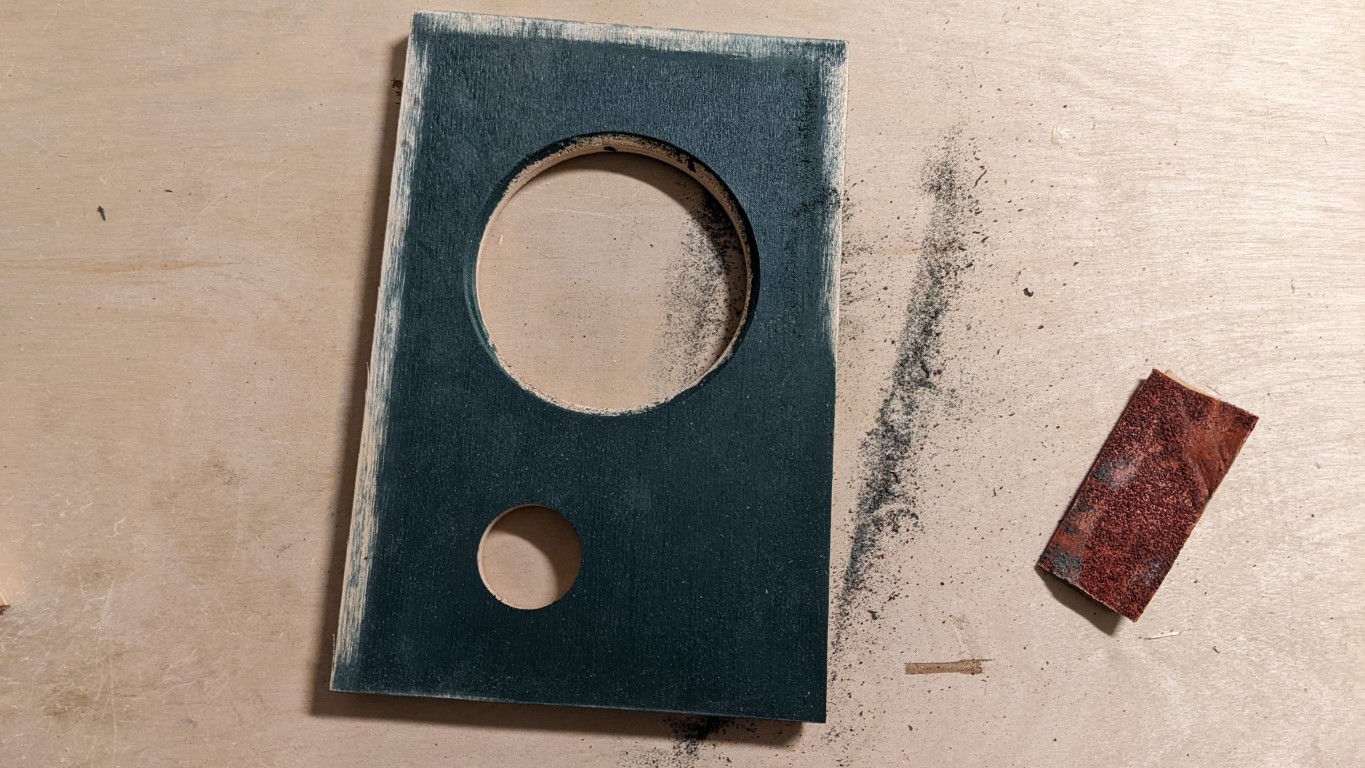
While the glue up was drying, I painted up the inside faces of the cabinets. My friend swears that the paint layer will give a better acoustic surface than the raw plywood, and I had some spare Black Forest Green leftover - which isn’t quite dark enough - so why not. I made sure not to paint the edges since that is where the glue will make contact, but I forgot to mask off the other contact areas along the edges of the faces, so I spent some time sanding the area after the paint dried.

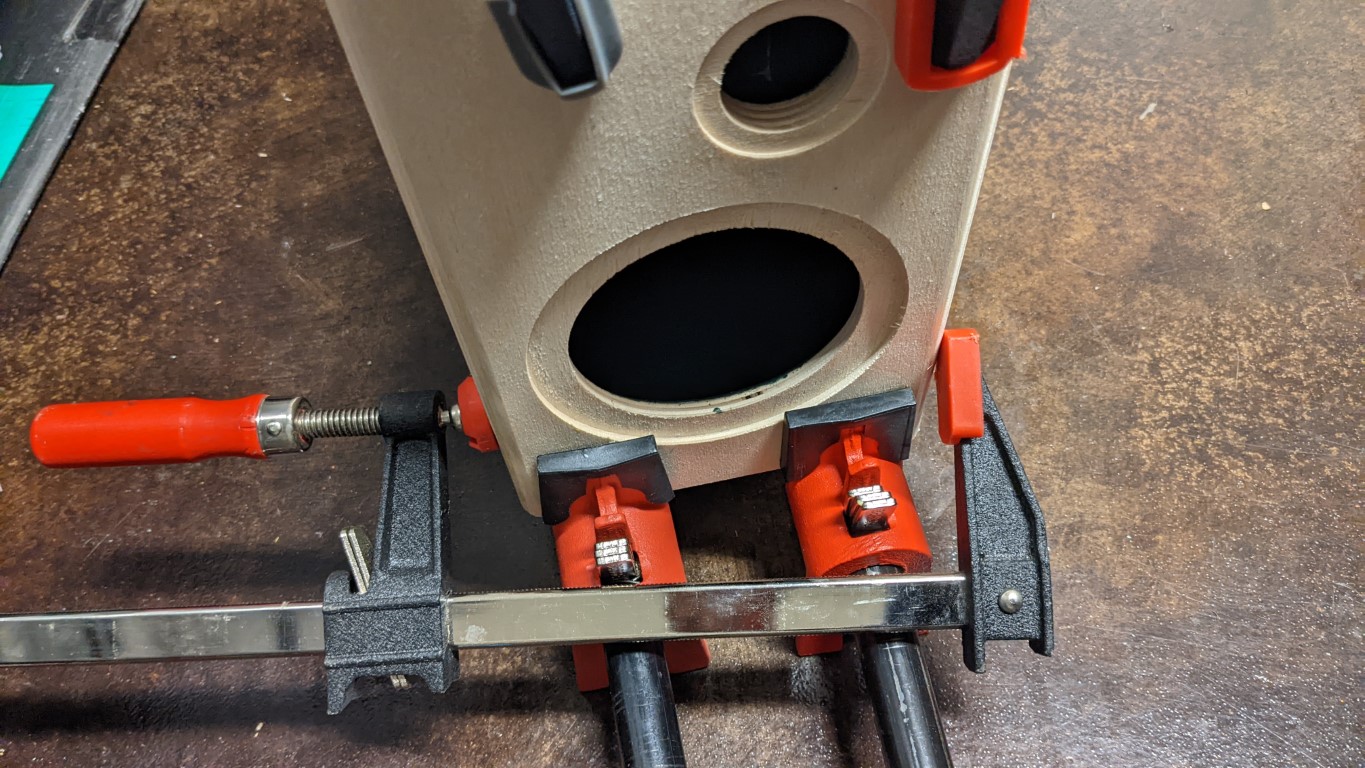
Then came the final glue up for the cabinet. The back piece slotted in just fine, but the front baffle was slightly skewed, so I angled one of the clamps to pull things into alignment. We can move on to the electronics while the glue dries!
Crossover
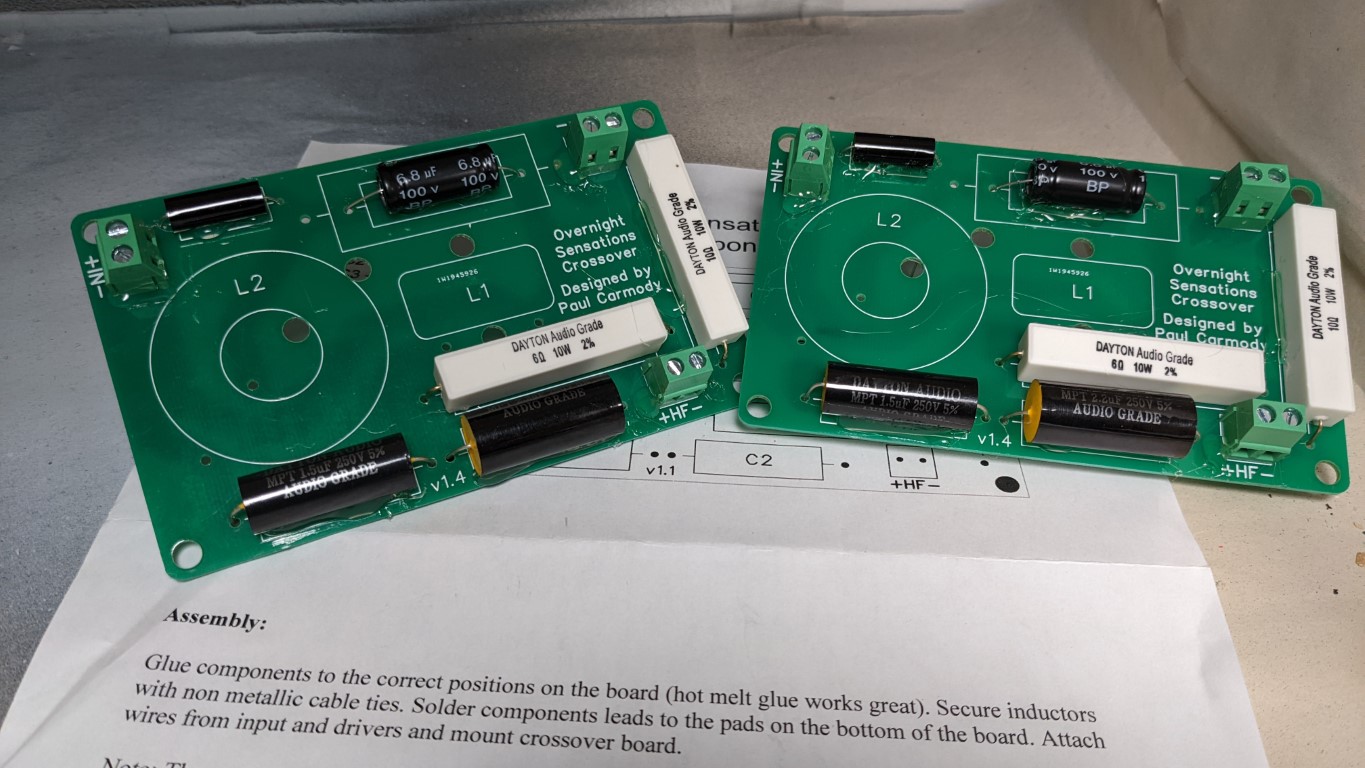
The kit comes with almost everything you need to have a functioning pair of speakers: all the circuit elements are there, but you need to have solder and a soldering iron. I highly recommend a glue gun and printed circuit boards (PCB), it’ll save you from thinking about how to lay out the components and help you avoid crossing the wrong wires. I bought a pair of PCBs off eBay and it was surprisingly well packed and came with clear instructions.
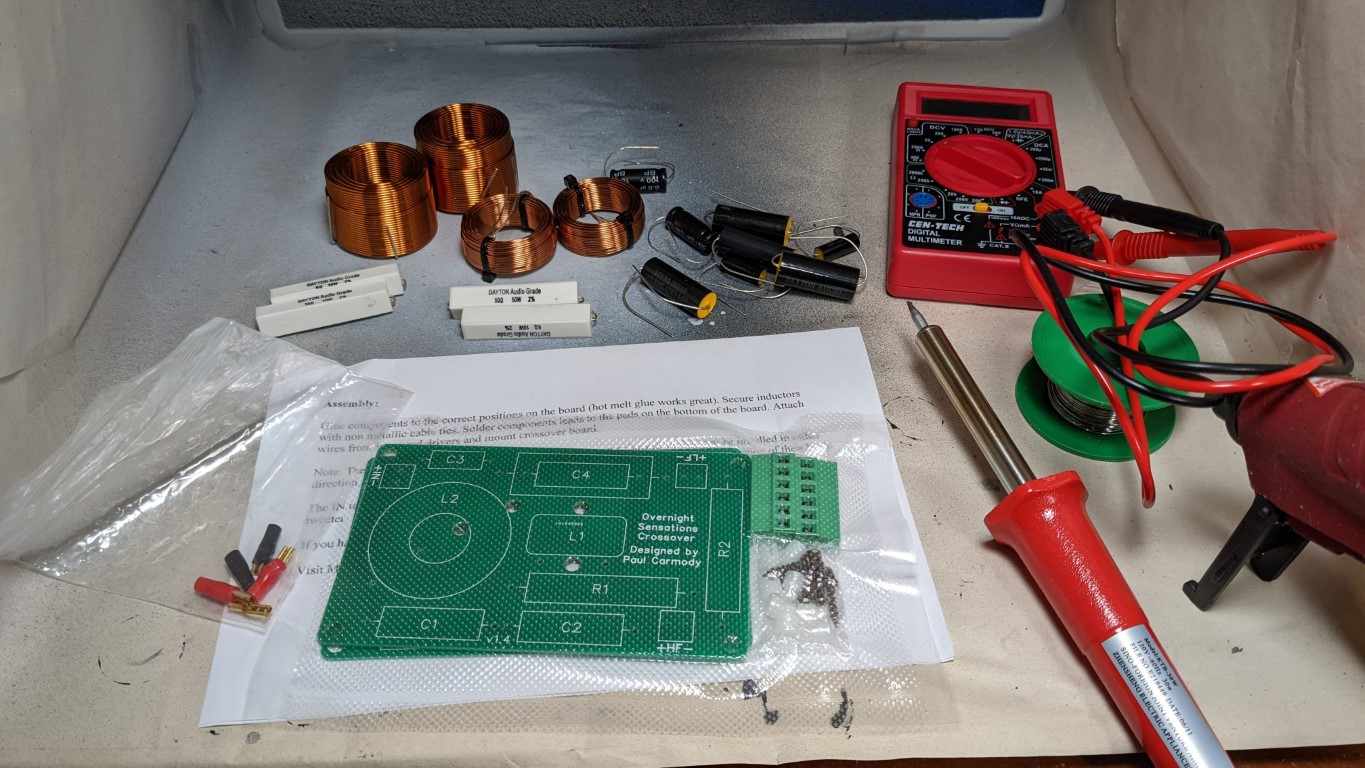

I laid out my circuit elements to make sure everything was there and even tested the resistors and capacitors with a multimeter. The PCB and instructions made this part of the build a breeze. I dry fitted everything, then took out the inductors (copper coils) so that the upside down PCBs would be stable while I worked on the smaller elements.
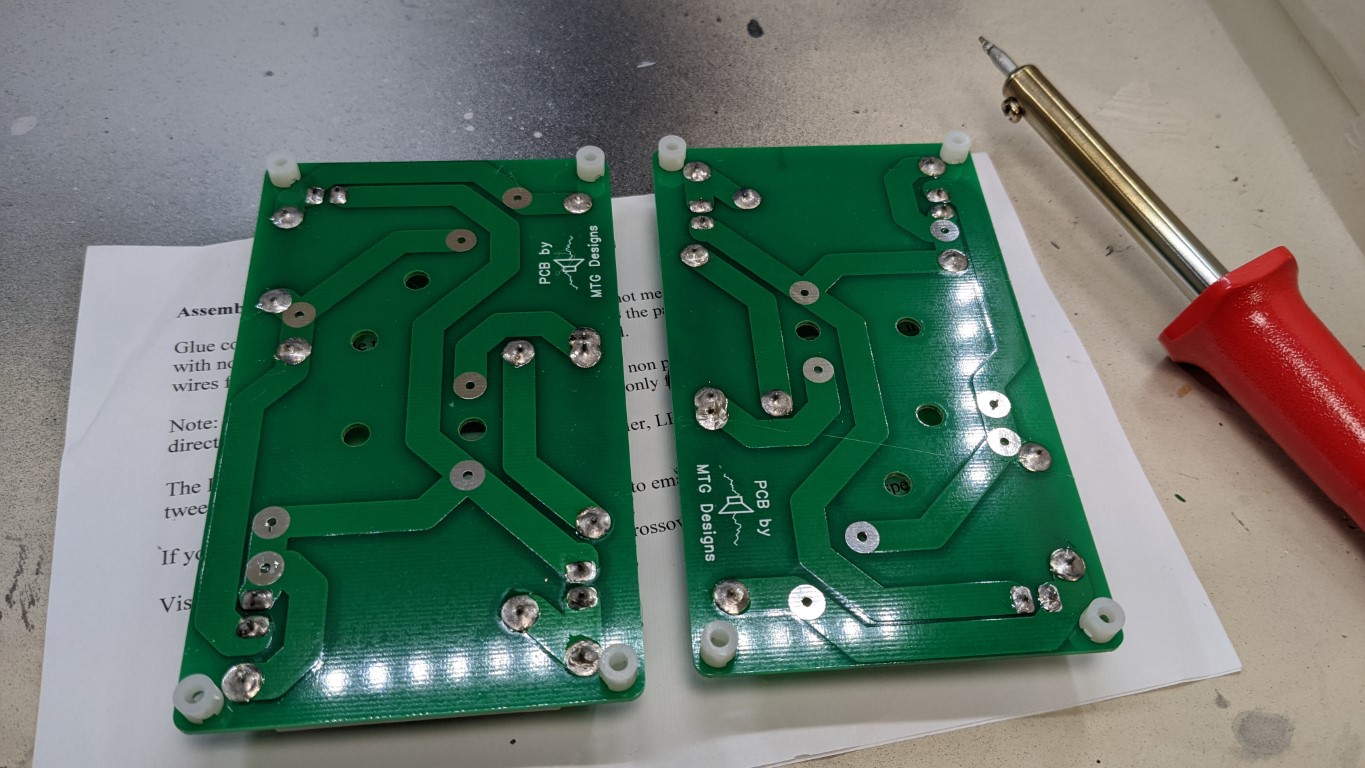
I secured the components with hot glue underneath and alongside the parts where space allowed, flipped the board over, trimmed the extra wire, and did the first pass of soldering. Always solder in a ventilated environment! I'm working in an airbrush spray booth, which vents outside.

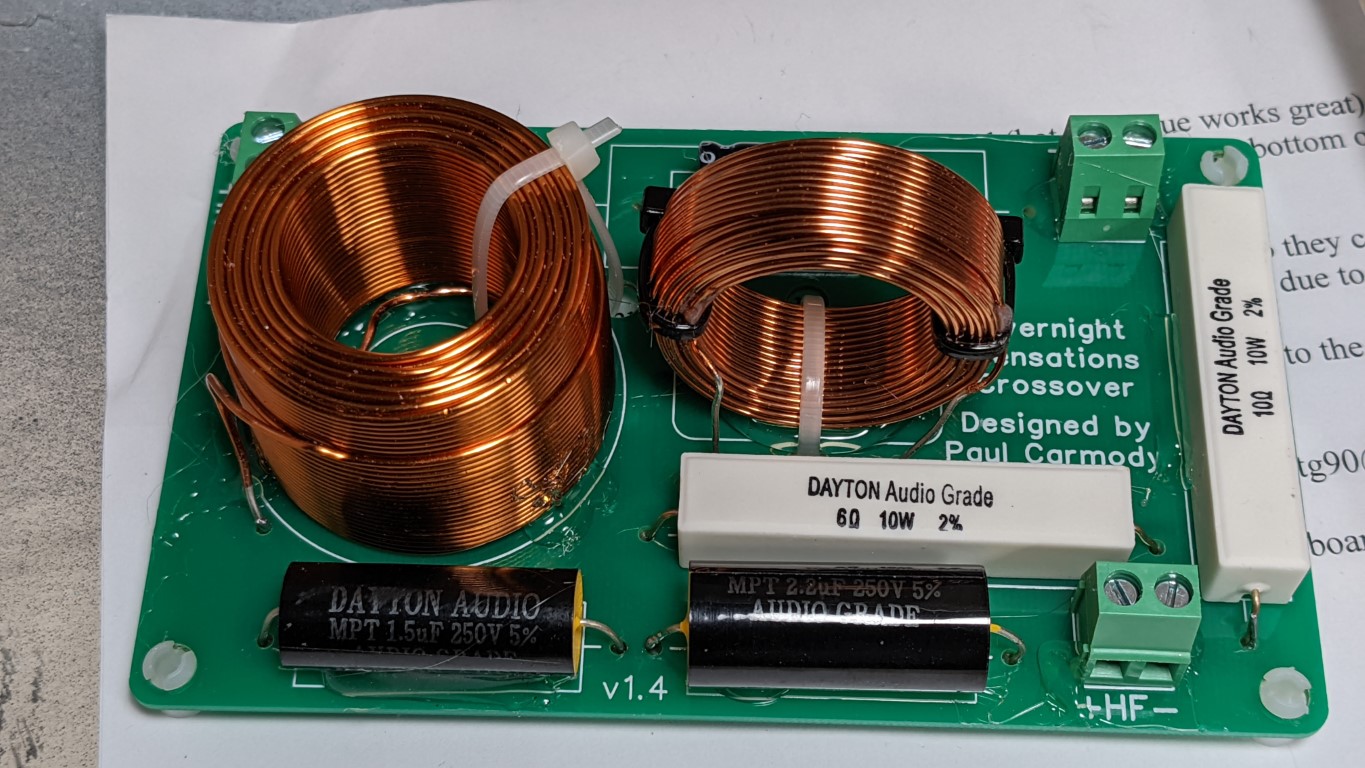
Finally, I glued the inductors and soldered them in; they are bulky and needed to be reinforced with some cable ties. The PCBs already have through holes for this.
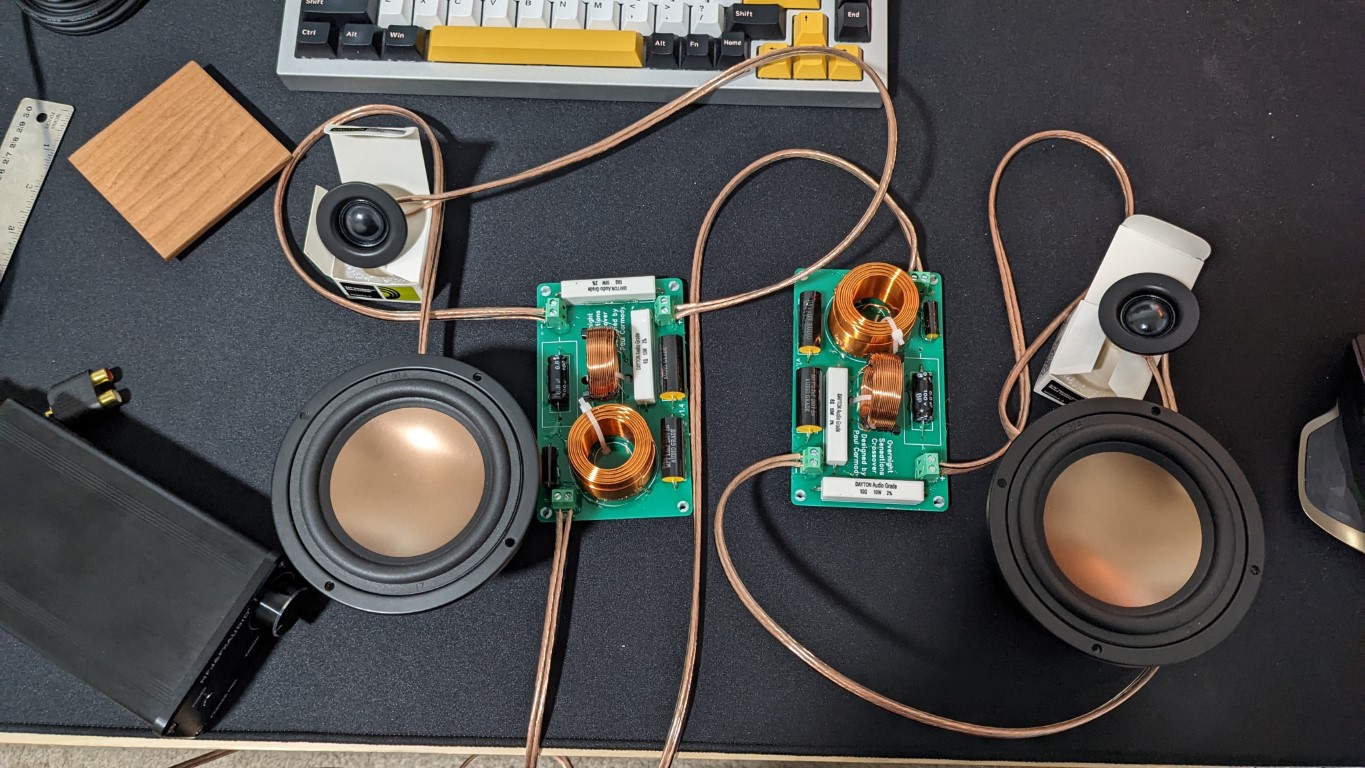
It was pretty late at night by this point but I couldn’t resist the test-fire. I unpacked the tweeters and woofers, stripped some speaker cables, and hooked up all the terminals. Everything was working!
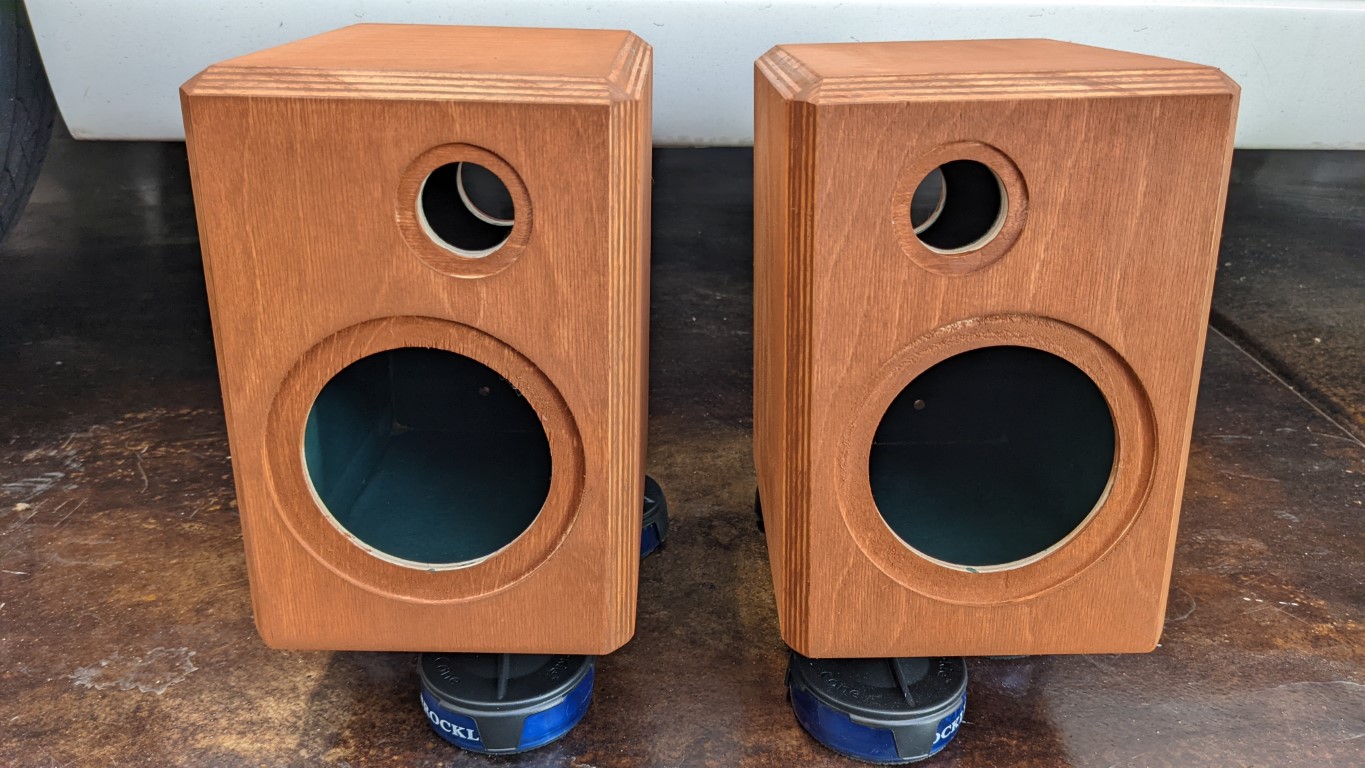
Cabinet finishing
Once the glue is dried, the speakers are technically ready for final assembly. I decided to finish them with some additional details. The sides of the front baffle were already rounded over, but I wanted to change things up a bit.
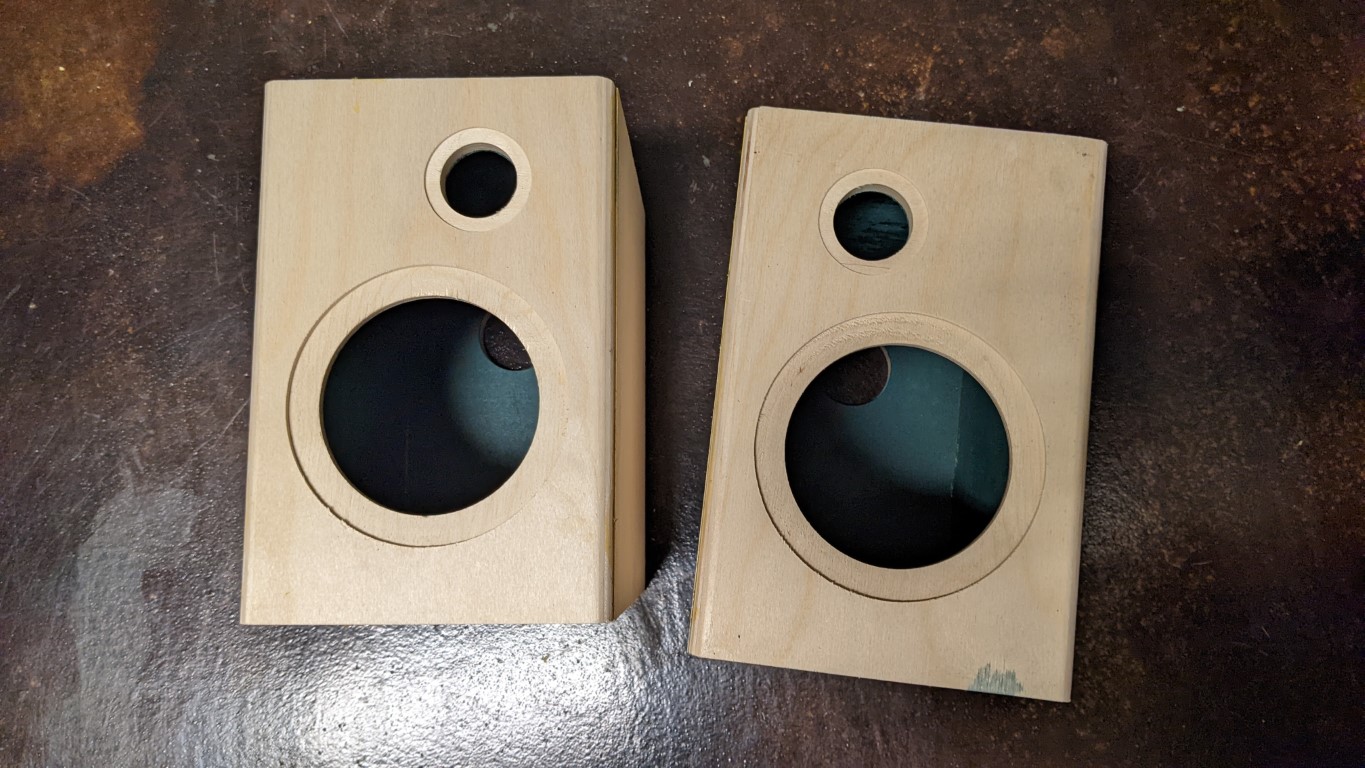
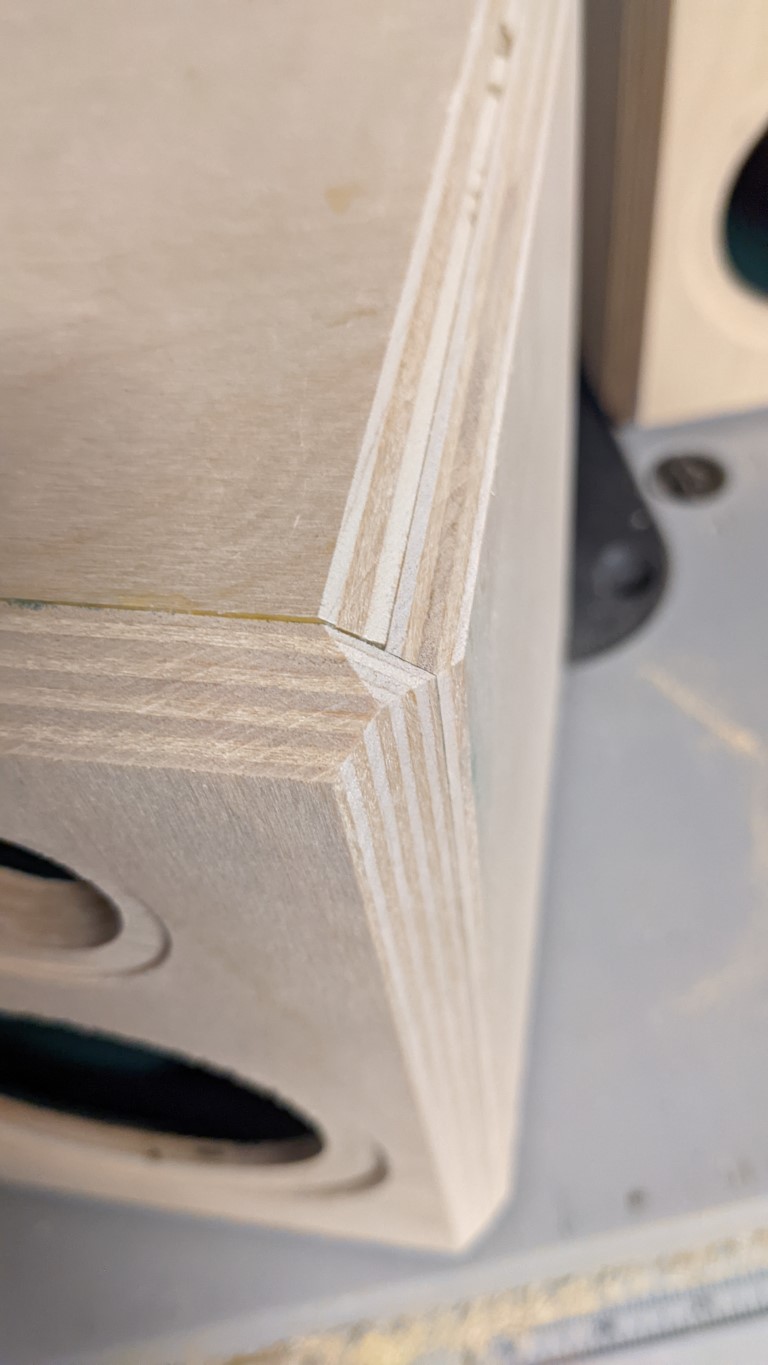
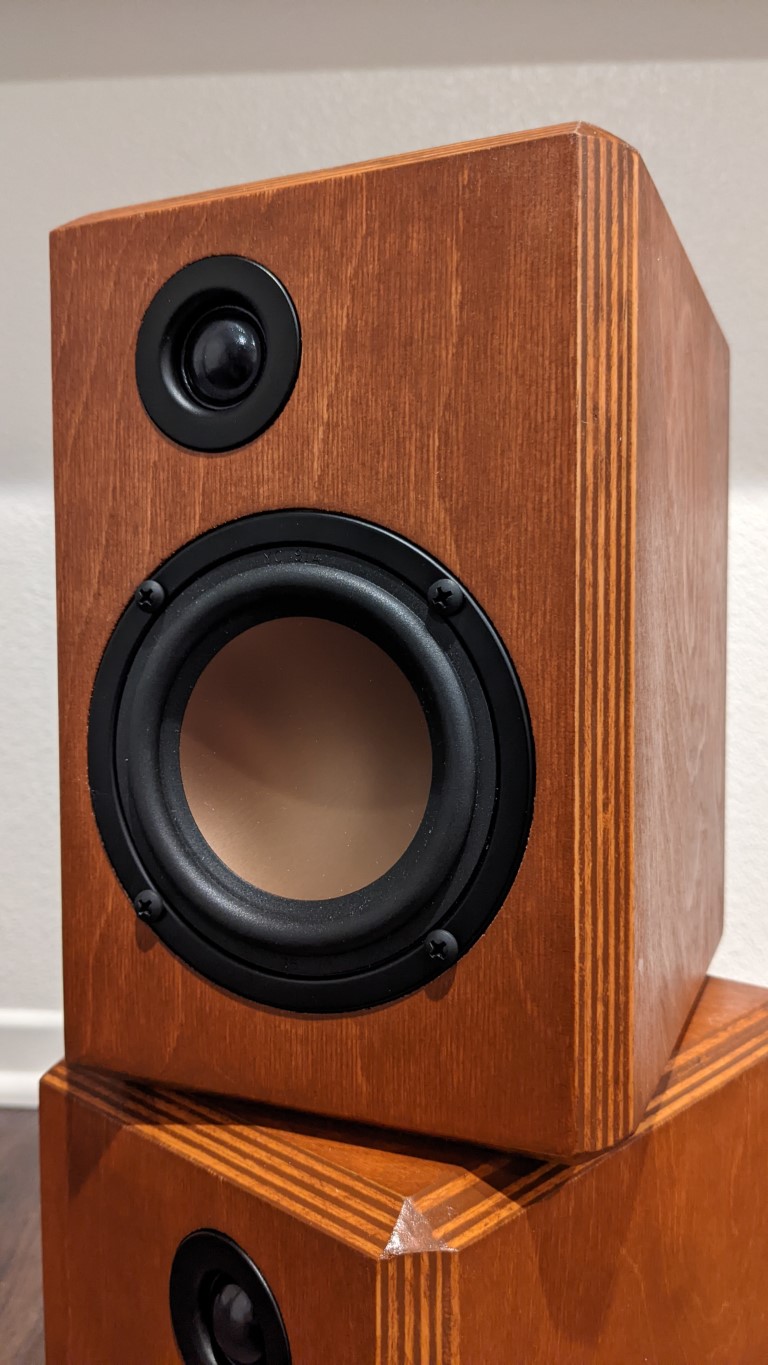
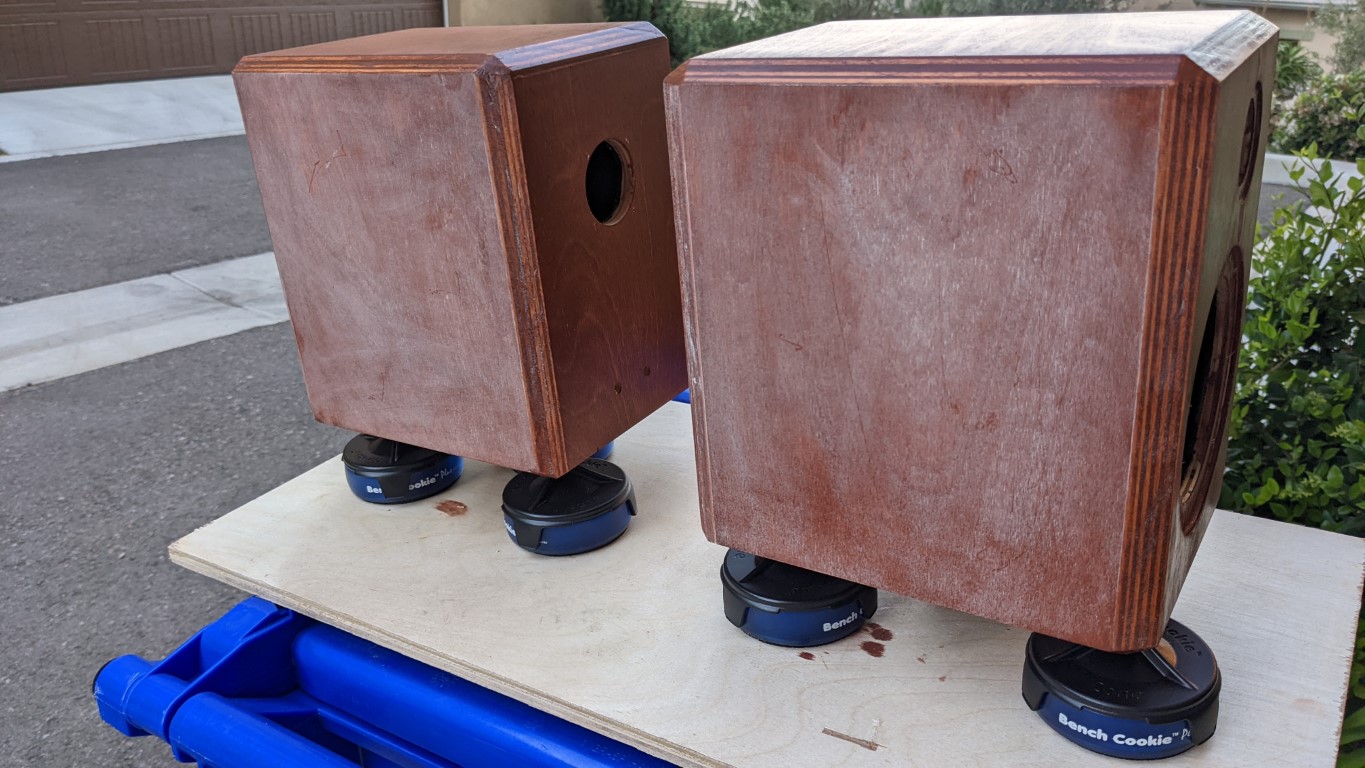
When building a box, it's usually easier to cut the lid oversized and then trim the excess after glue-up so that the edges line up perfectly. The front piece here is cut practically perfectly, but nonetheless I chamferied the edges to add more details. I made the 38-degree cuts on a table saw.
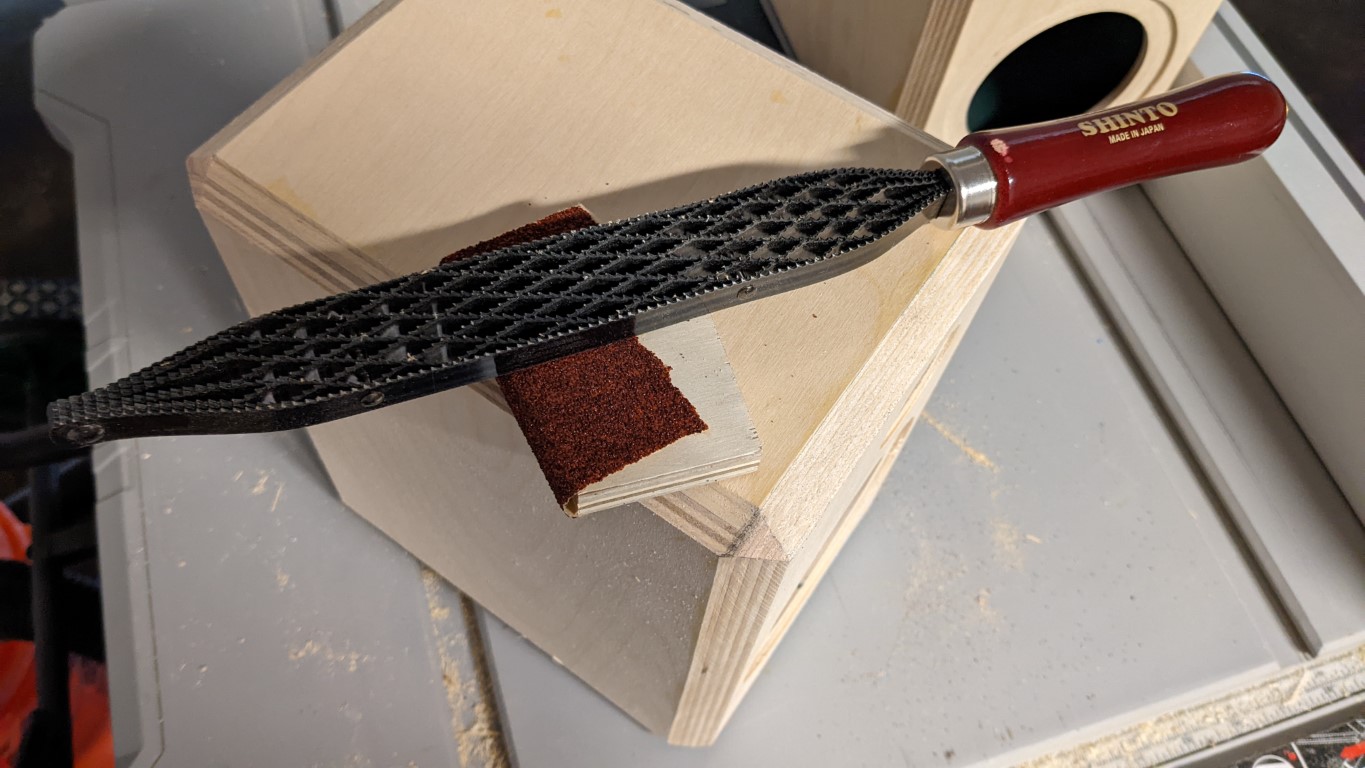
I didn't like the look of the vertices where the edges meet, so I took a rasp and some sandpaper to create a triangular plane. I wrapped the sandpaper around a small piece of plywood so that I could apply even pressure while keeping the angle consistent.
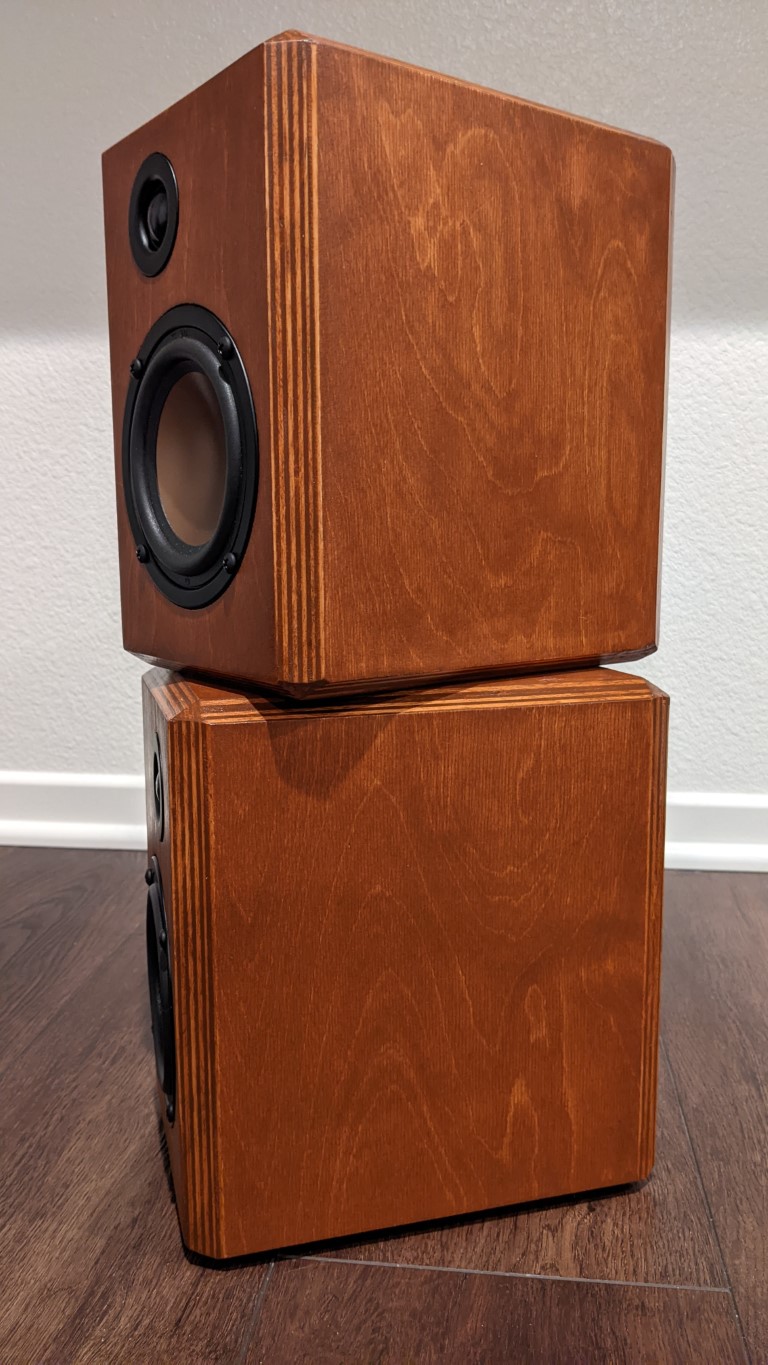
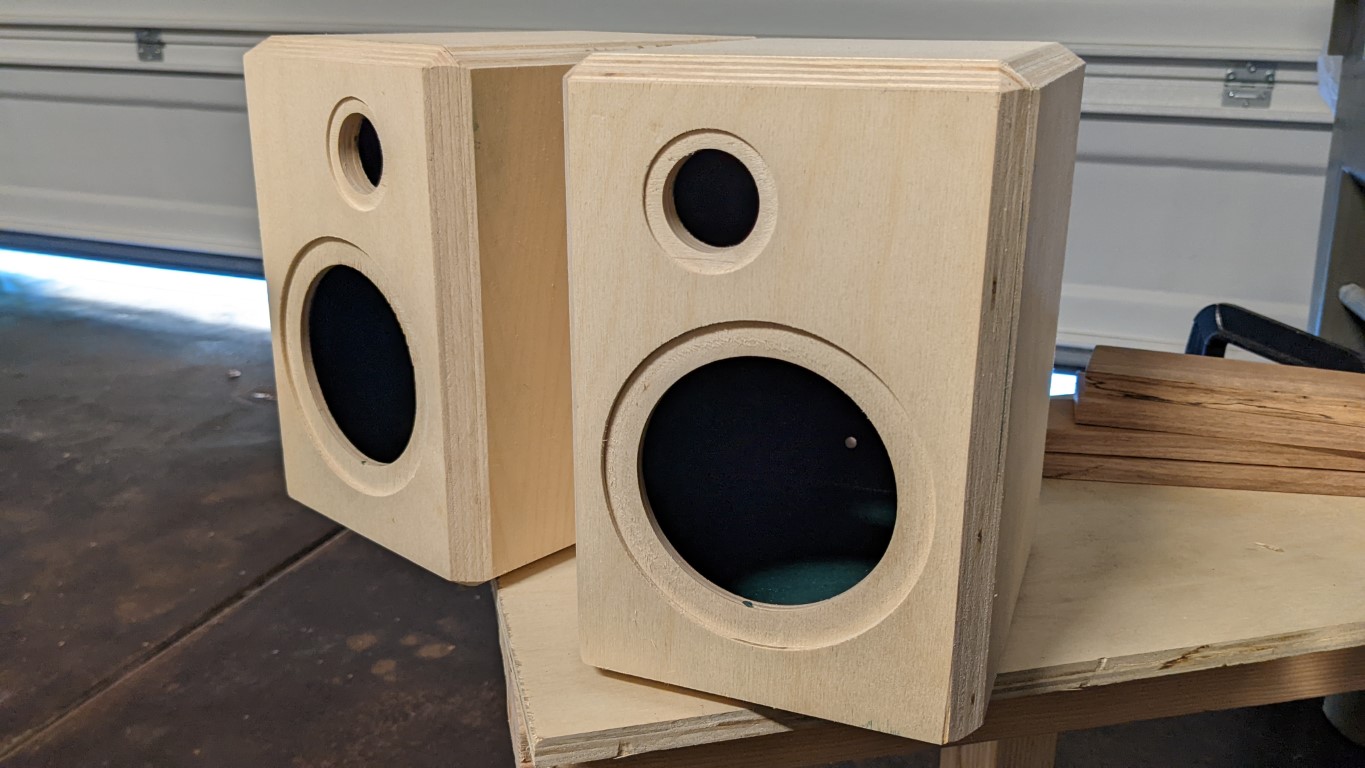
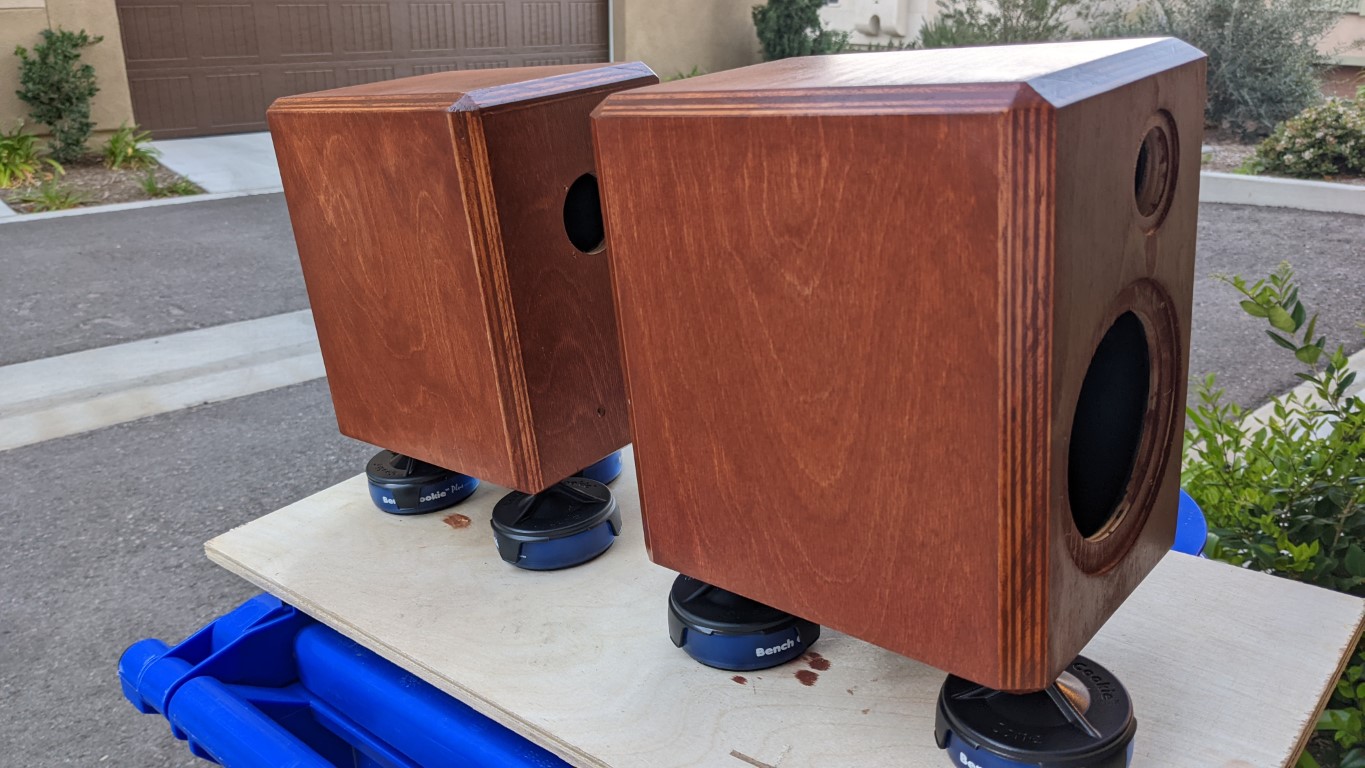
I used a random orbital sander on all surfaces with 120 and 180 grit paper. Then I hand sanded all the edges with 60, 100, 120, 180, and 400 grit sandpaper. Taking the edges to a higher grit has a burnishing effect, such that the stain would darken the edges less. Plywood edges expose alternating layers of end grain and edge grain, which absorb more stain than face grain. I wanted to feature the alternating nature of plywood so I took this step to make sure that the edges would be lighter than the faces.
I applied one flood coat of stain in Varathane’s gunstock colour. It’s my first time staining wood, and it went on pretty easily. I’m a fan.
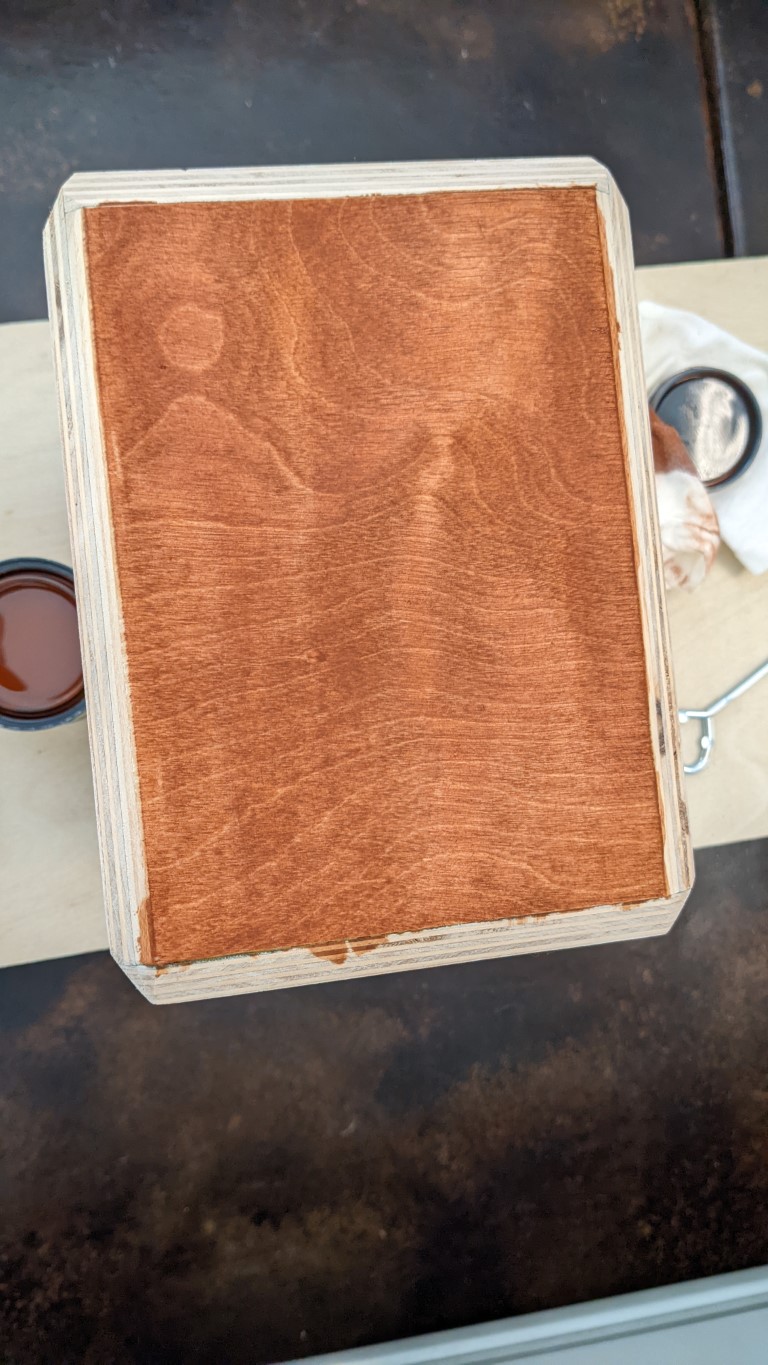
Here's the first face I tried to stain - one of the bottom faces. It's so satisfying when the stain enhances the grain and patterns become appreciable. Finishing in general is a fun process... everything really comes to life.
I sprayed on a few coats of Deft satin lacquer; the instructions suggest multiple thin coats, but as long as the lacquer doesn't pool and run it's fine. I let the lacquer dry, then used 600 grit sandpaper to lightly sand the surface, specifically attacking bumpy spots where dust etc. landed (sometimes you'll find bugs, I guess they're attracted to the fumes). Some people will use a tack cloth to remove wipe off all the dust before applying the next coat, but I like to leave the dust on: the dust will melt on the next coat of lacquer and help fill surface imperfections. It's the secret to getting a glass smooth finish.
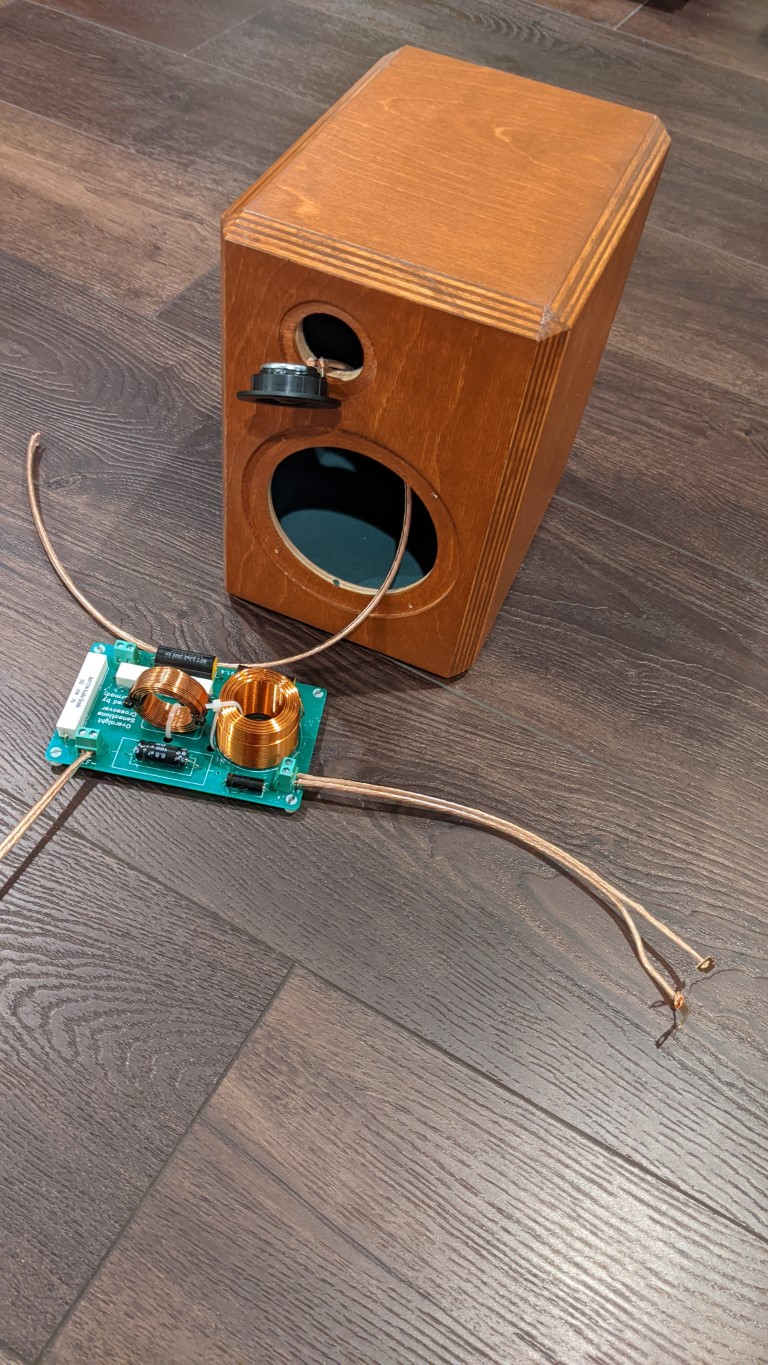
Final Assembly

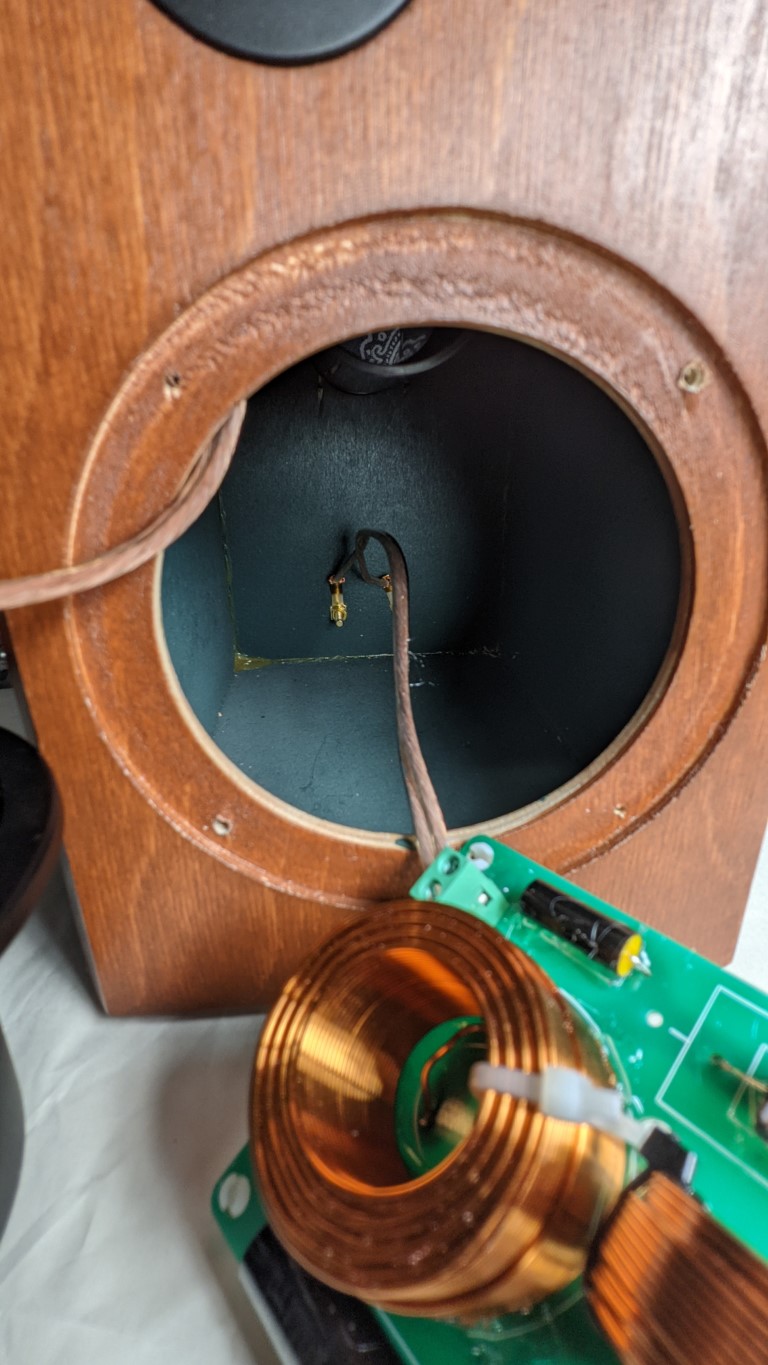
The port tube came in two pieces; I set the length with hot glue and screwed it into the back. Some of the bass frequencies will resonate in the tube, leading to a fuller sound. I also inserted the binding posts: the inside connects to our crossover terminals, and the outside connects to the input speaker wires.
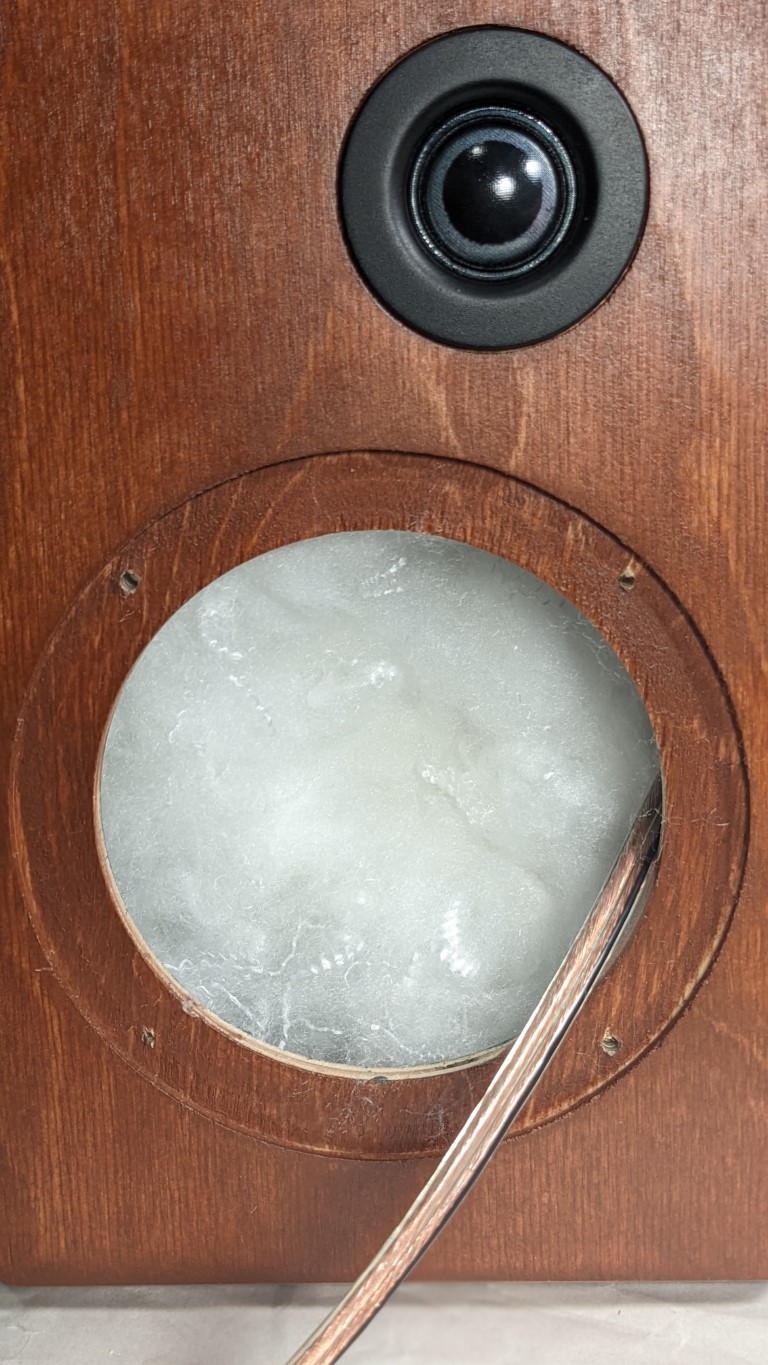
I threaded the tweeter wire through and press fitted it into place. Then I connected the terminals, hot glued the PCB to the bottom, and stuffed the cavity like a teddy bear. The polyfill is there to dampen the sound waves generated by the woofer, which would reflect off the back of the cabinet to the front, thereby muddying the sound output.
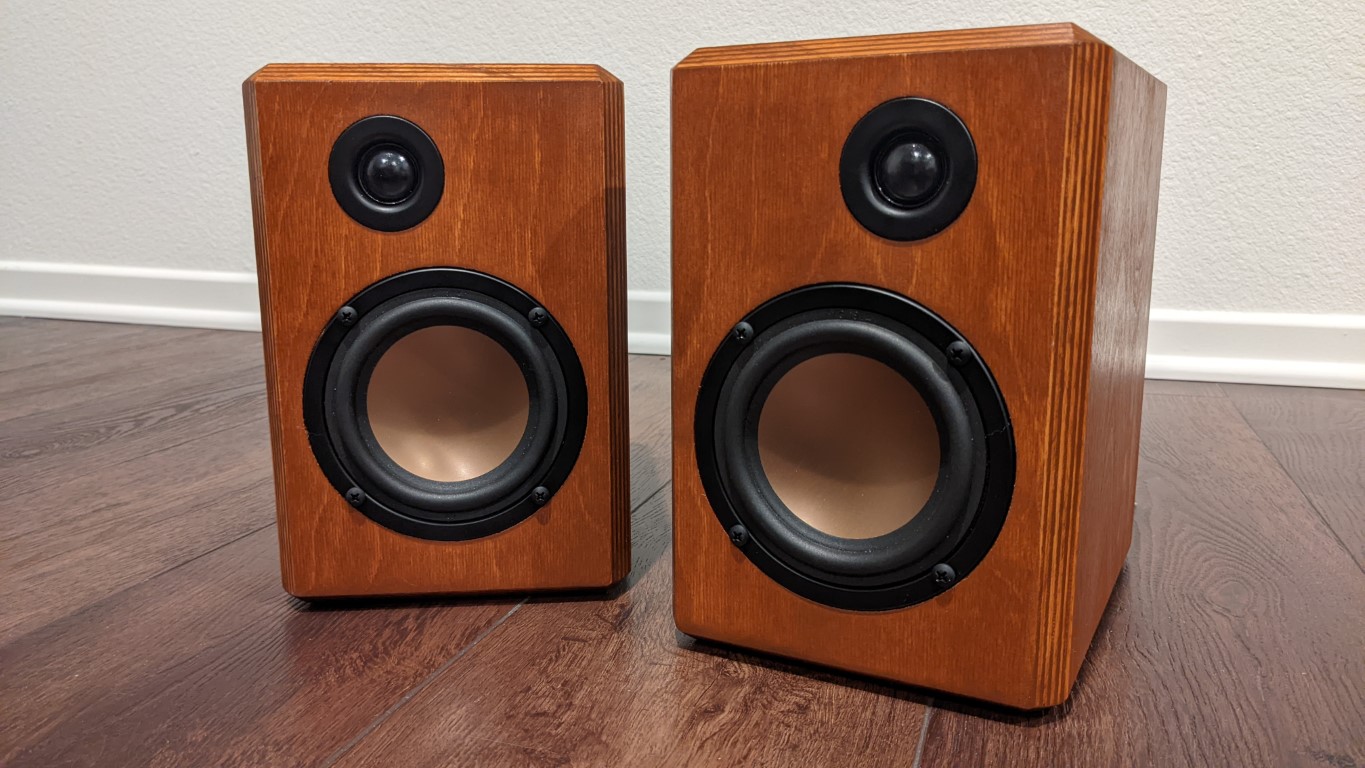
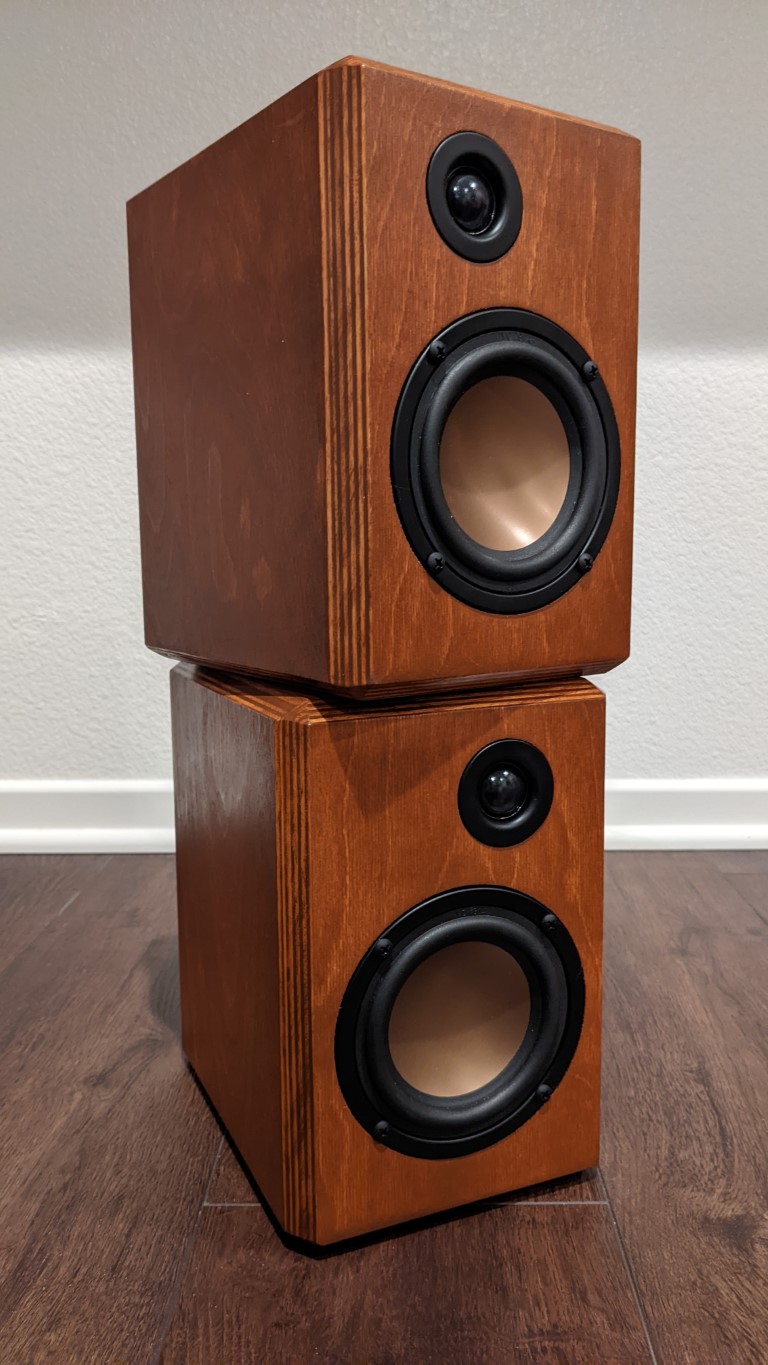
And they’re done! This project was so much fun. Aesthetically, I’m especially happy with how the chamfered edges and the staining turned out. I don’t have the right audio gear to do these speakers justice, but here’s a link to a video that will give you a good idea. It’s funny how you can intuit the quality of speakers from a recording, similar to how you can tell the quality of a TV or monitor even from a video. They definitely sound bigger than they look: I imagine they would struggle to fill up a big living room, but they’ll be perfect for my office desk. I’ll have to build a stand for them, maybe that will be another post down the line.
Thanks for reading along and I hope you enjoyed this. Let me know in the comments below! And, if you’ve always wanted to build a pair of speakers… what are you waiting for?