Chest of Drawers Part 3: Dovetails
Handwork for real this time: time to cut some dovetails. I’ve only ever jointed one other box with dovetails before, but I decided to forge ahead with a “real” project instead of continuing to practice on scrap. Practice may make perfect - or at least better - but perfection is the enemy of progress.
Dovetails
Dovetails are one of the most basic woodworking joints that any hand tool woodworker should know; in fact it was the default way to joint boxes/drawers/cases for a long while, before modern glues and the wider availability of screws. What is the point of doing things in a less efficient way? Some people want to replicate the precision of machining by hand. For me, for this project, right now, is about tactility: the way the saw bites and glides, the feel of the chisel chopping into the wood and popping out the waste material, the ‘gentle persuasion’ (i.e. hammering) when fitting the pins and tails. The scent of freshly cut poplar is a nice bonus (handsaw dust is generally not carcinogenic, compared to the much finer power tool dust).
Layout
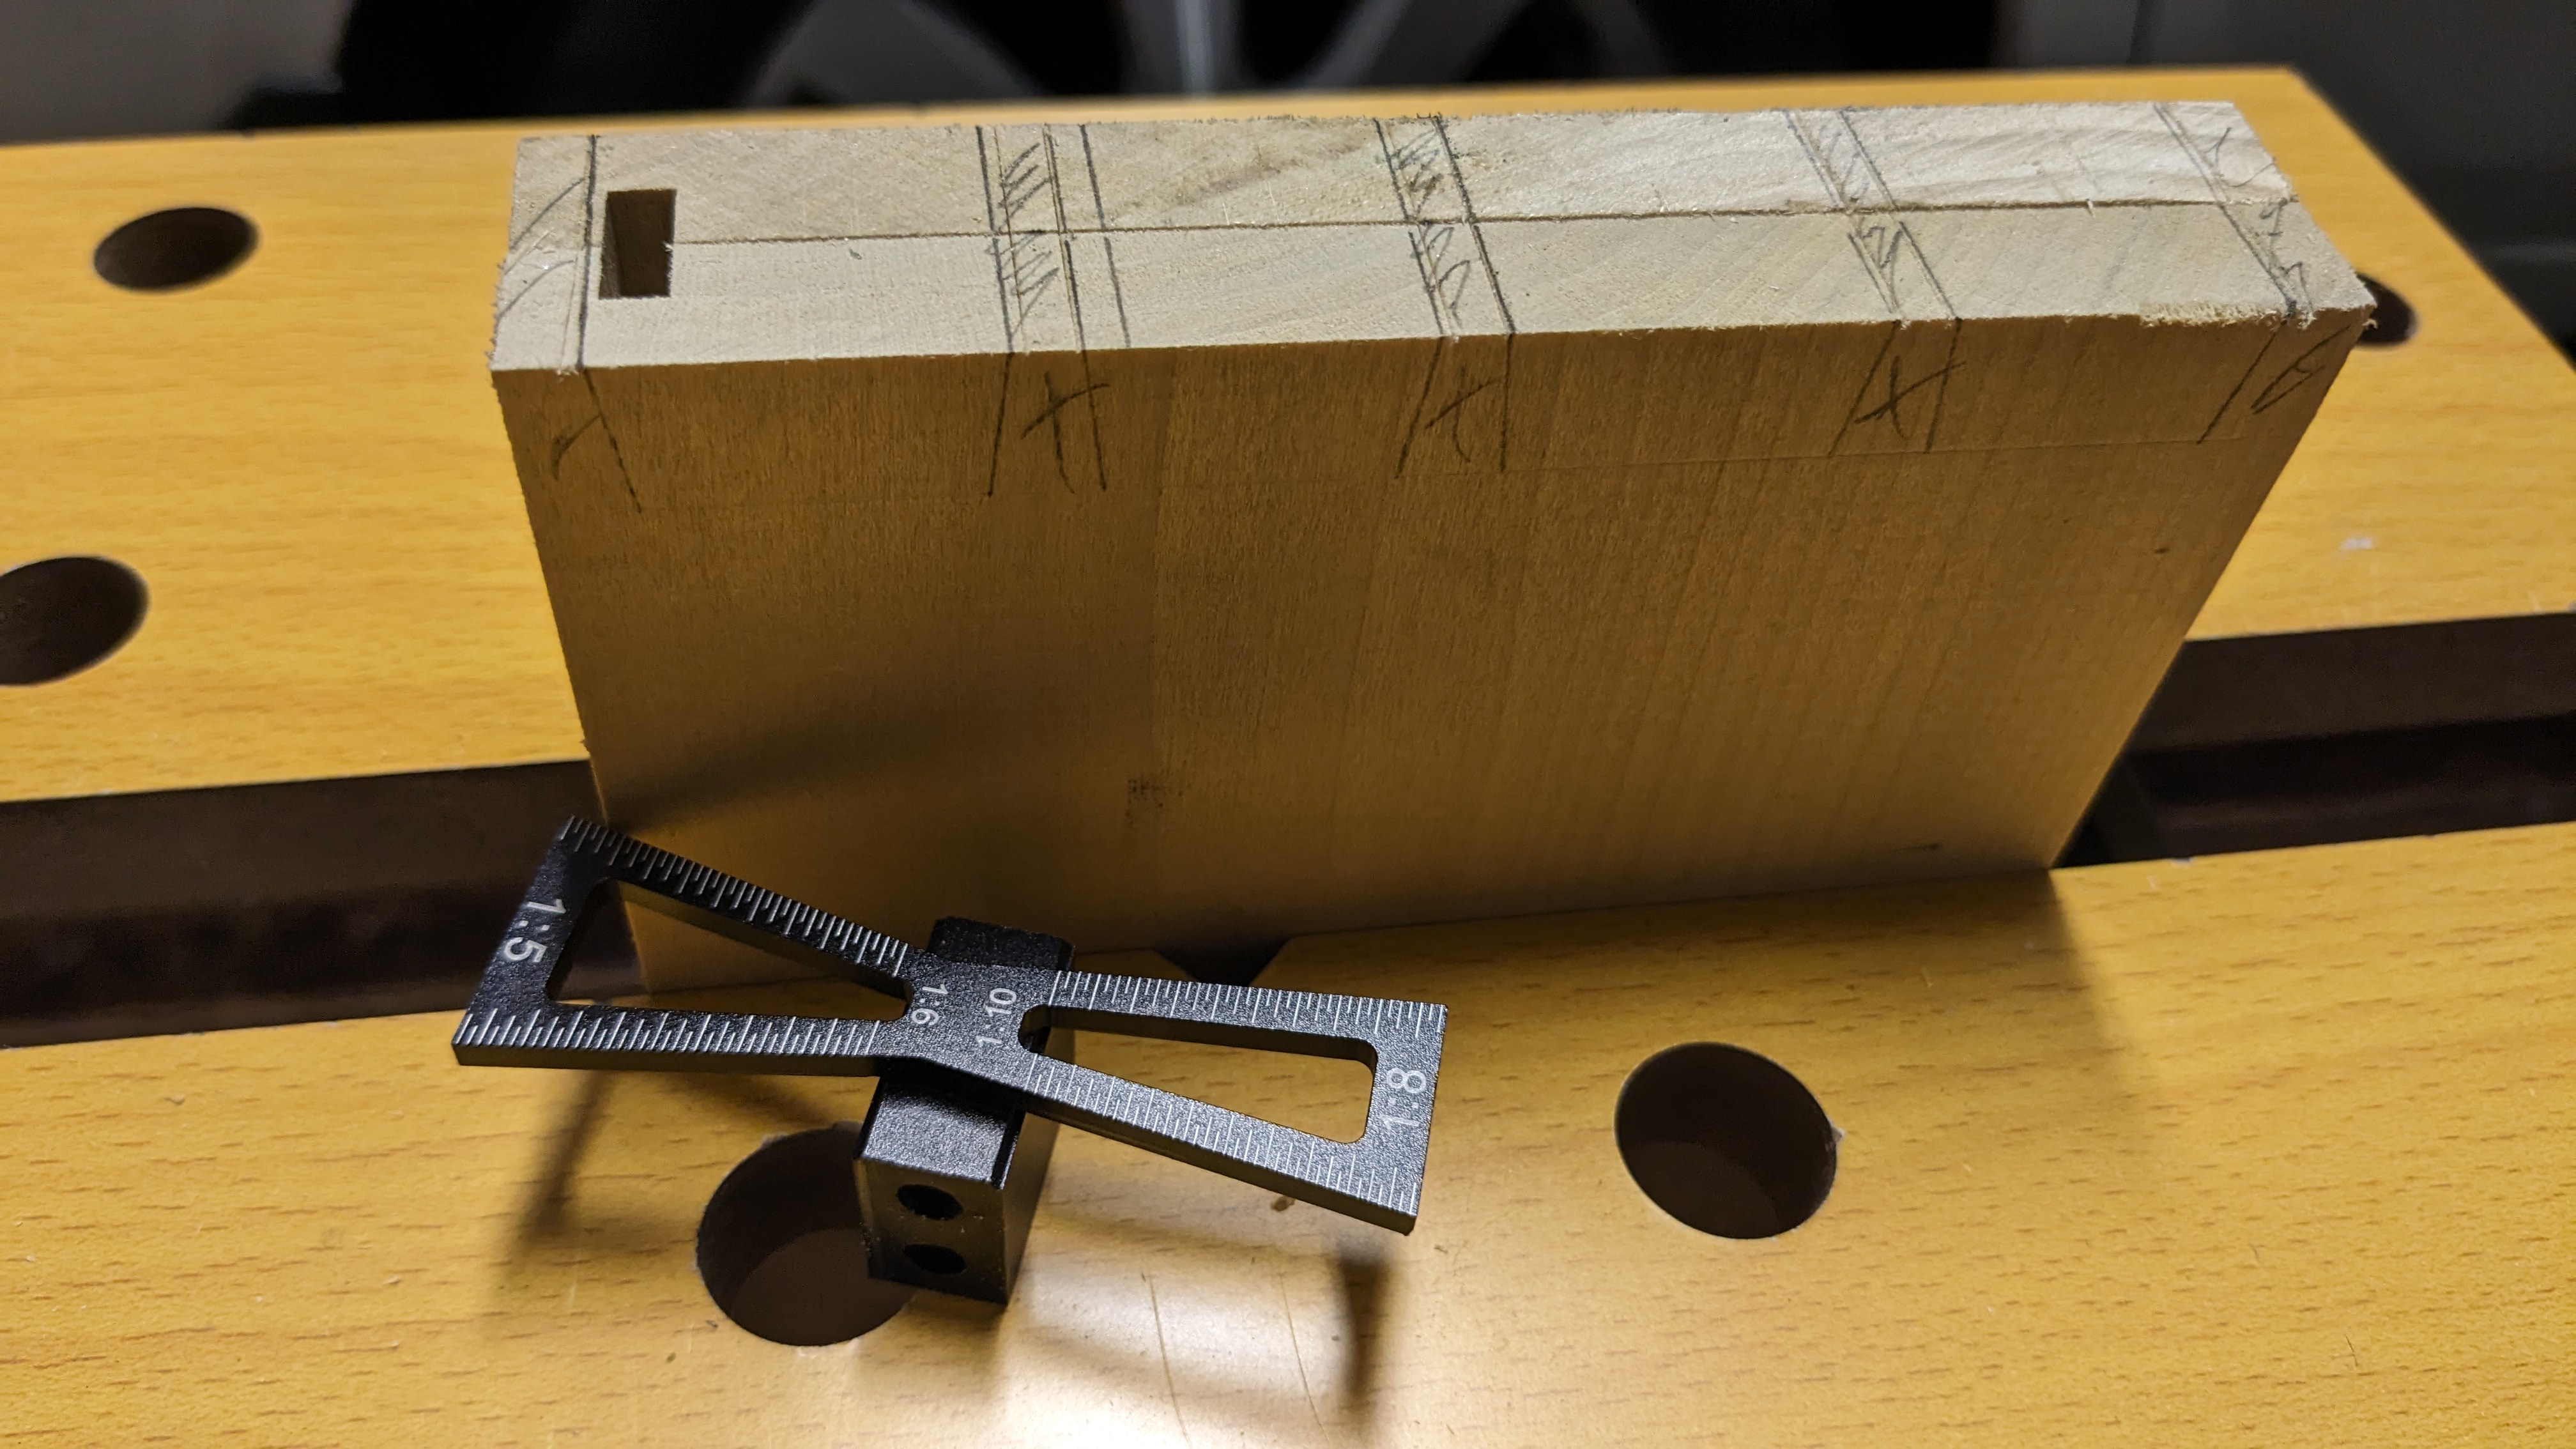
To make things slightly faster and more accurate, I gang up two drawer sides before I mark my lines. This halves the number of cuts to be made, and the thicker material provides more feedback when the saw angle is incorrect. There is some science to maximizing the strength of the joint in terms of number of tails, spacing, ratio, etc. based on wood species and thickness but I just went with what looked good.
Chisel
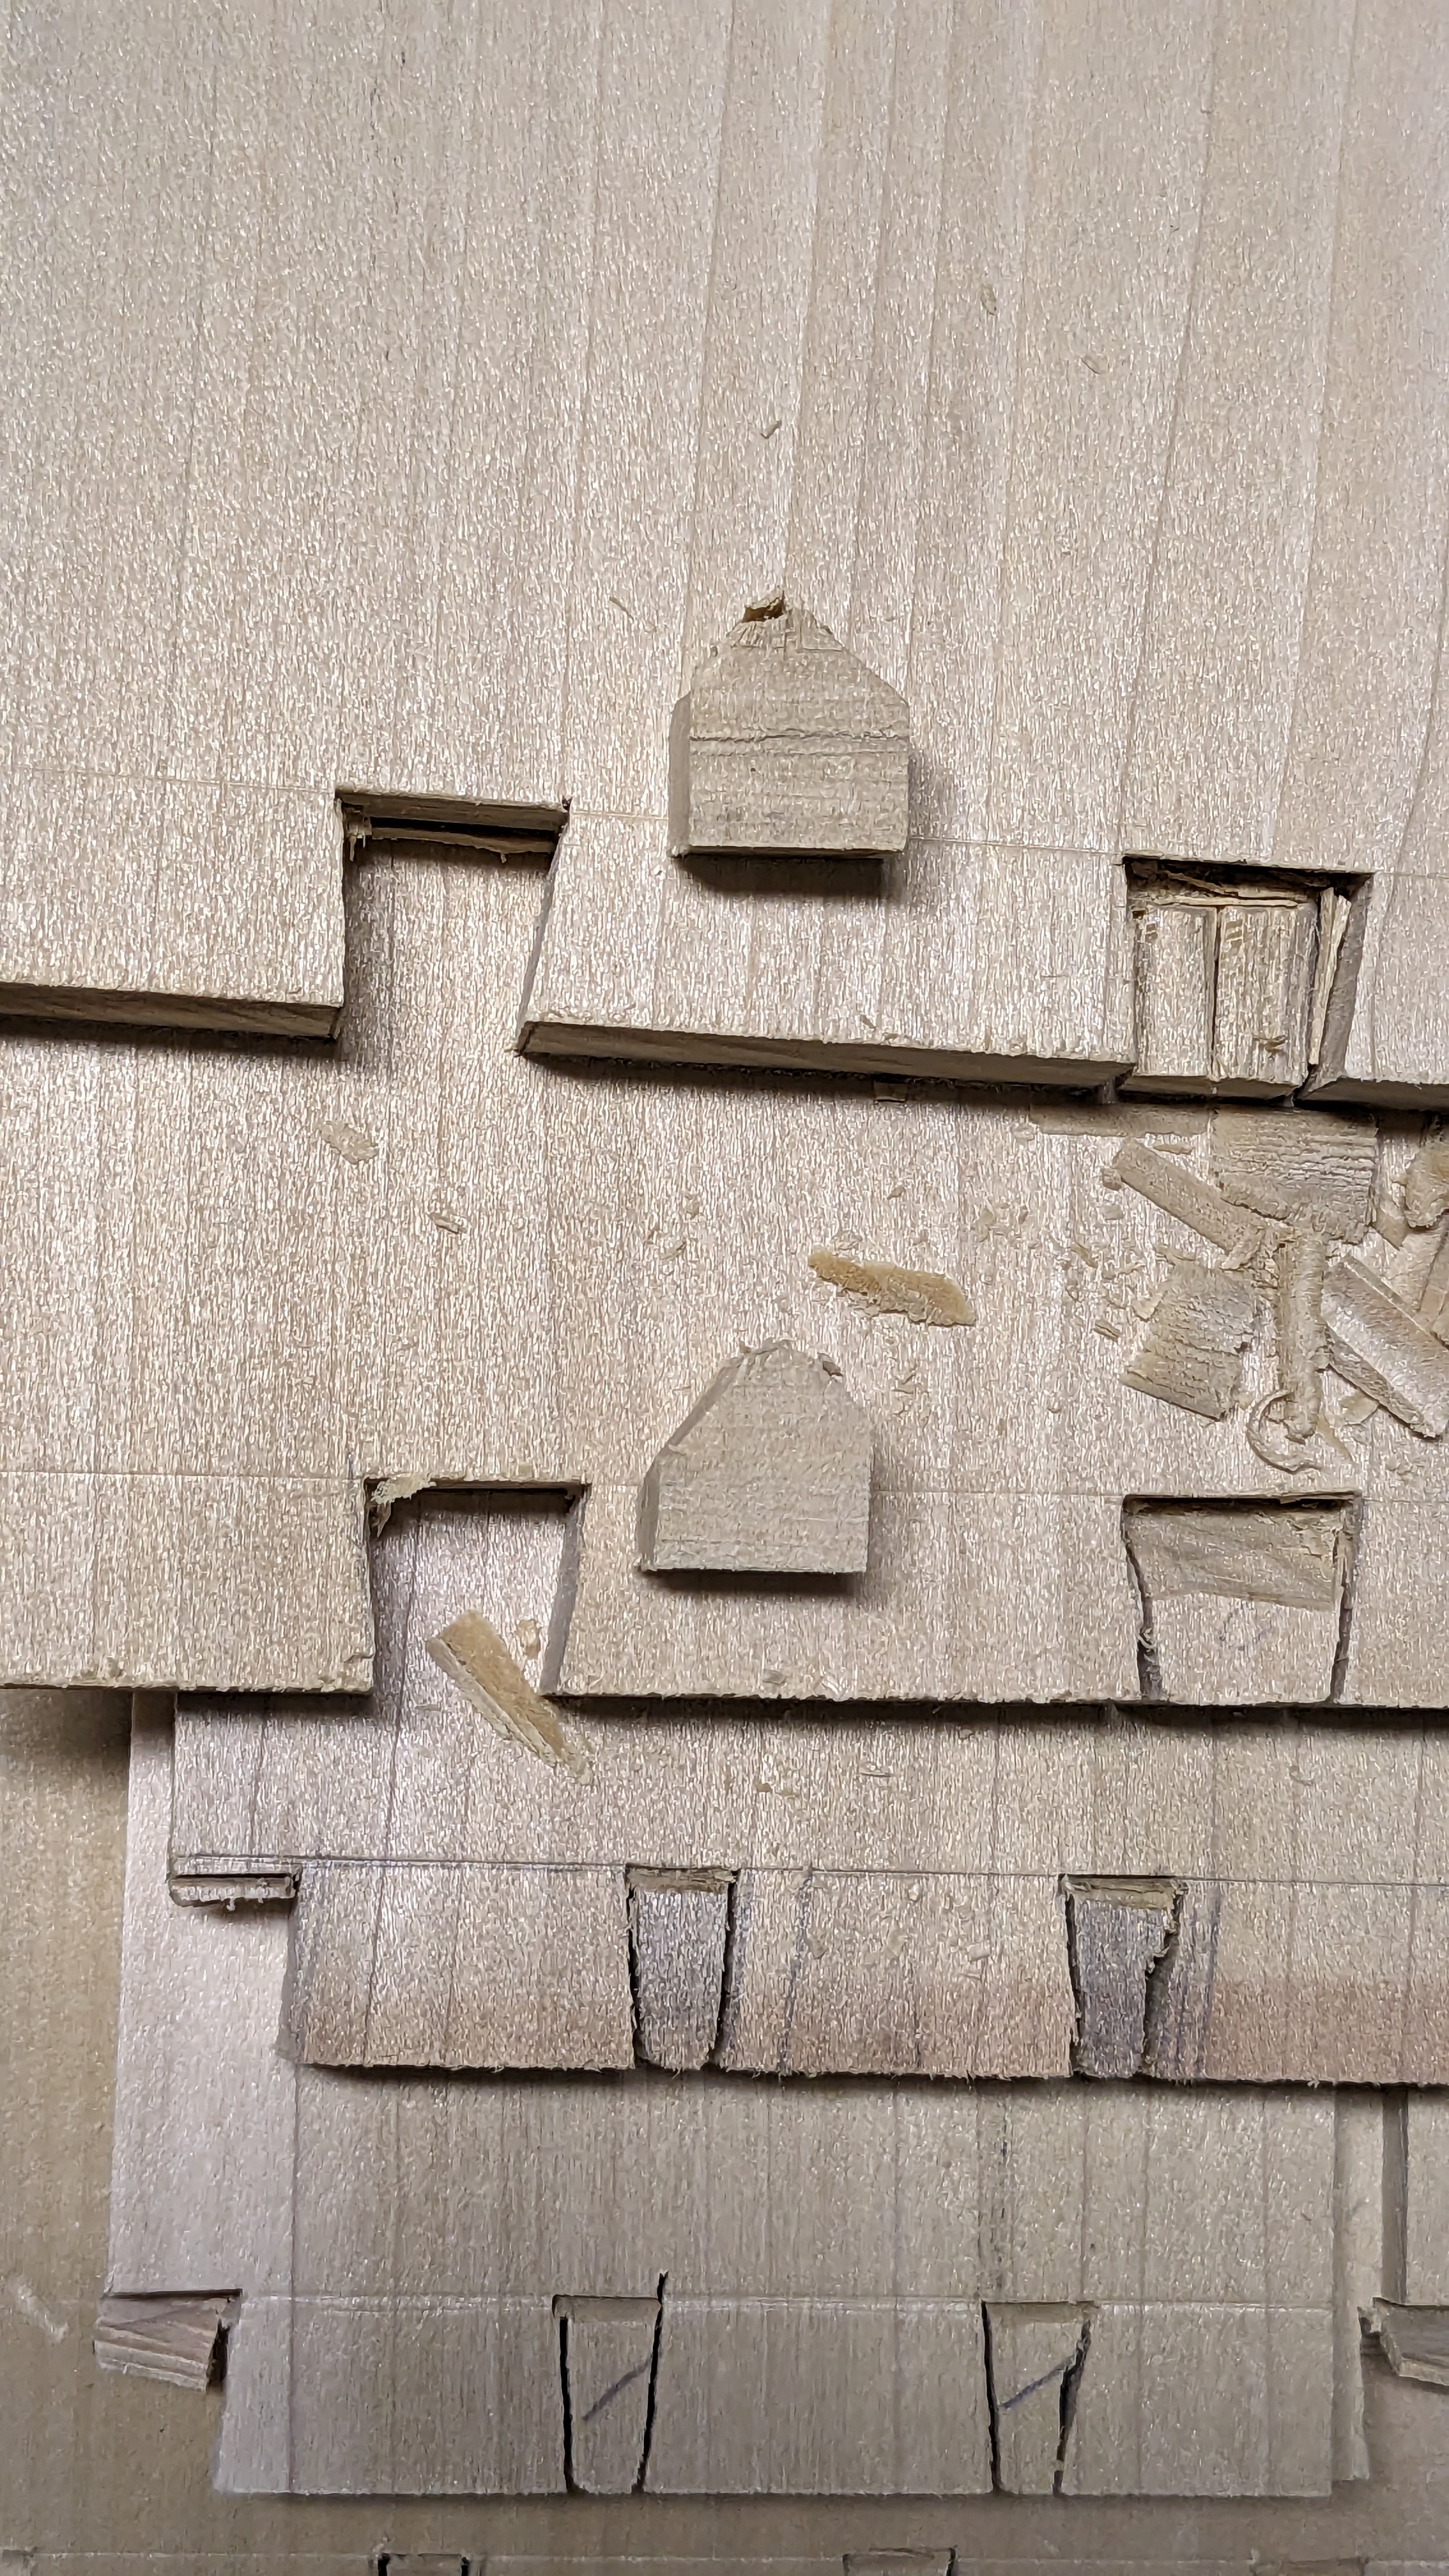
Slowly chop down into the waste on both sides while avoiding chiseling into the marked line. So satisfying when the waste material comes out in one piece - sometimes they even look like Monopoly houses. Last but not least the sides (where the saw left rough marks) have to be pared down for a nice flat mating surface with the pins.
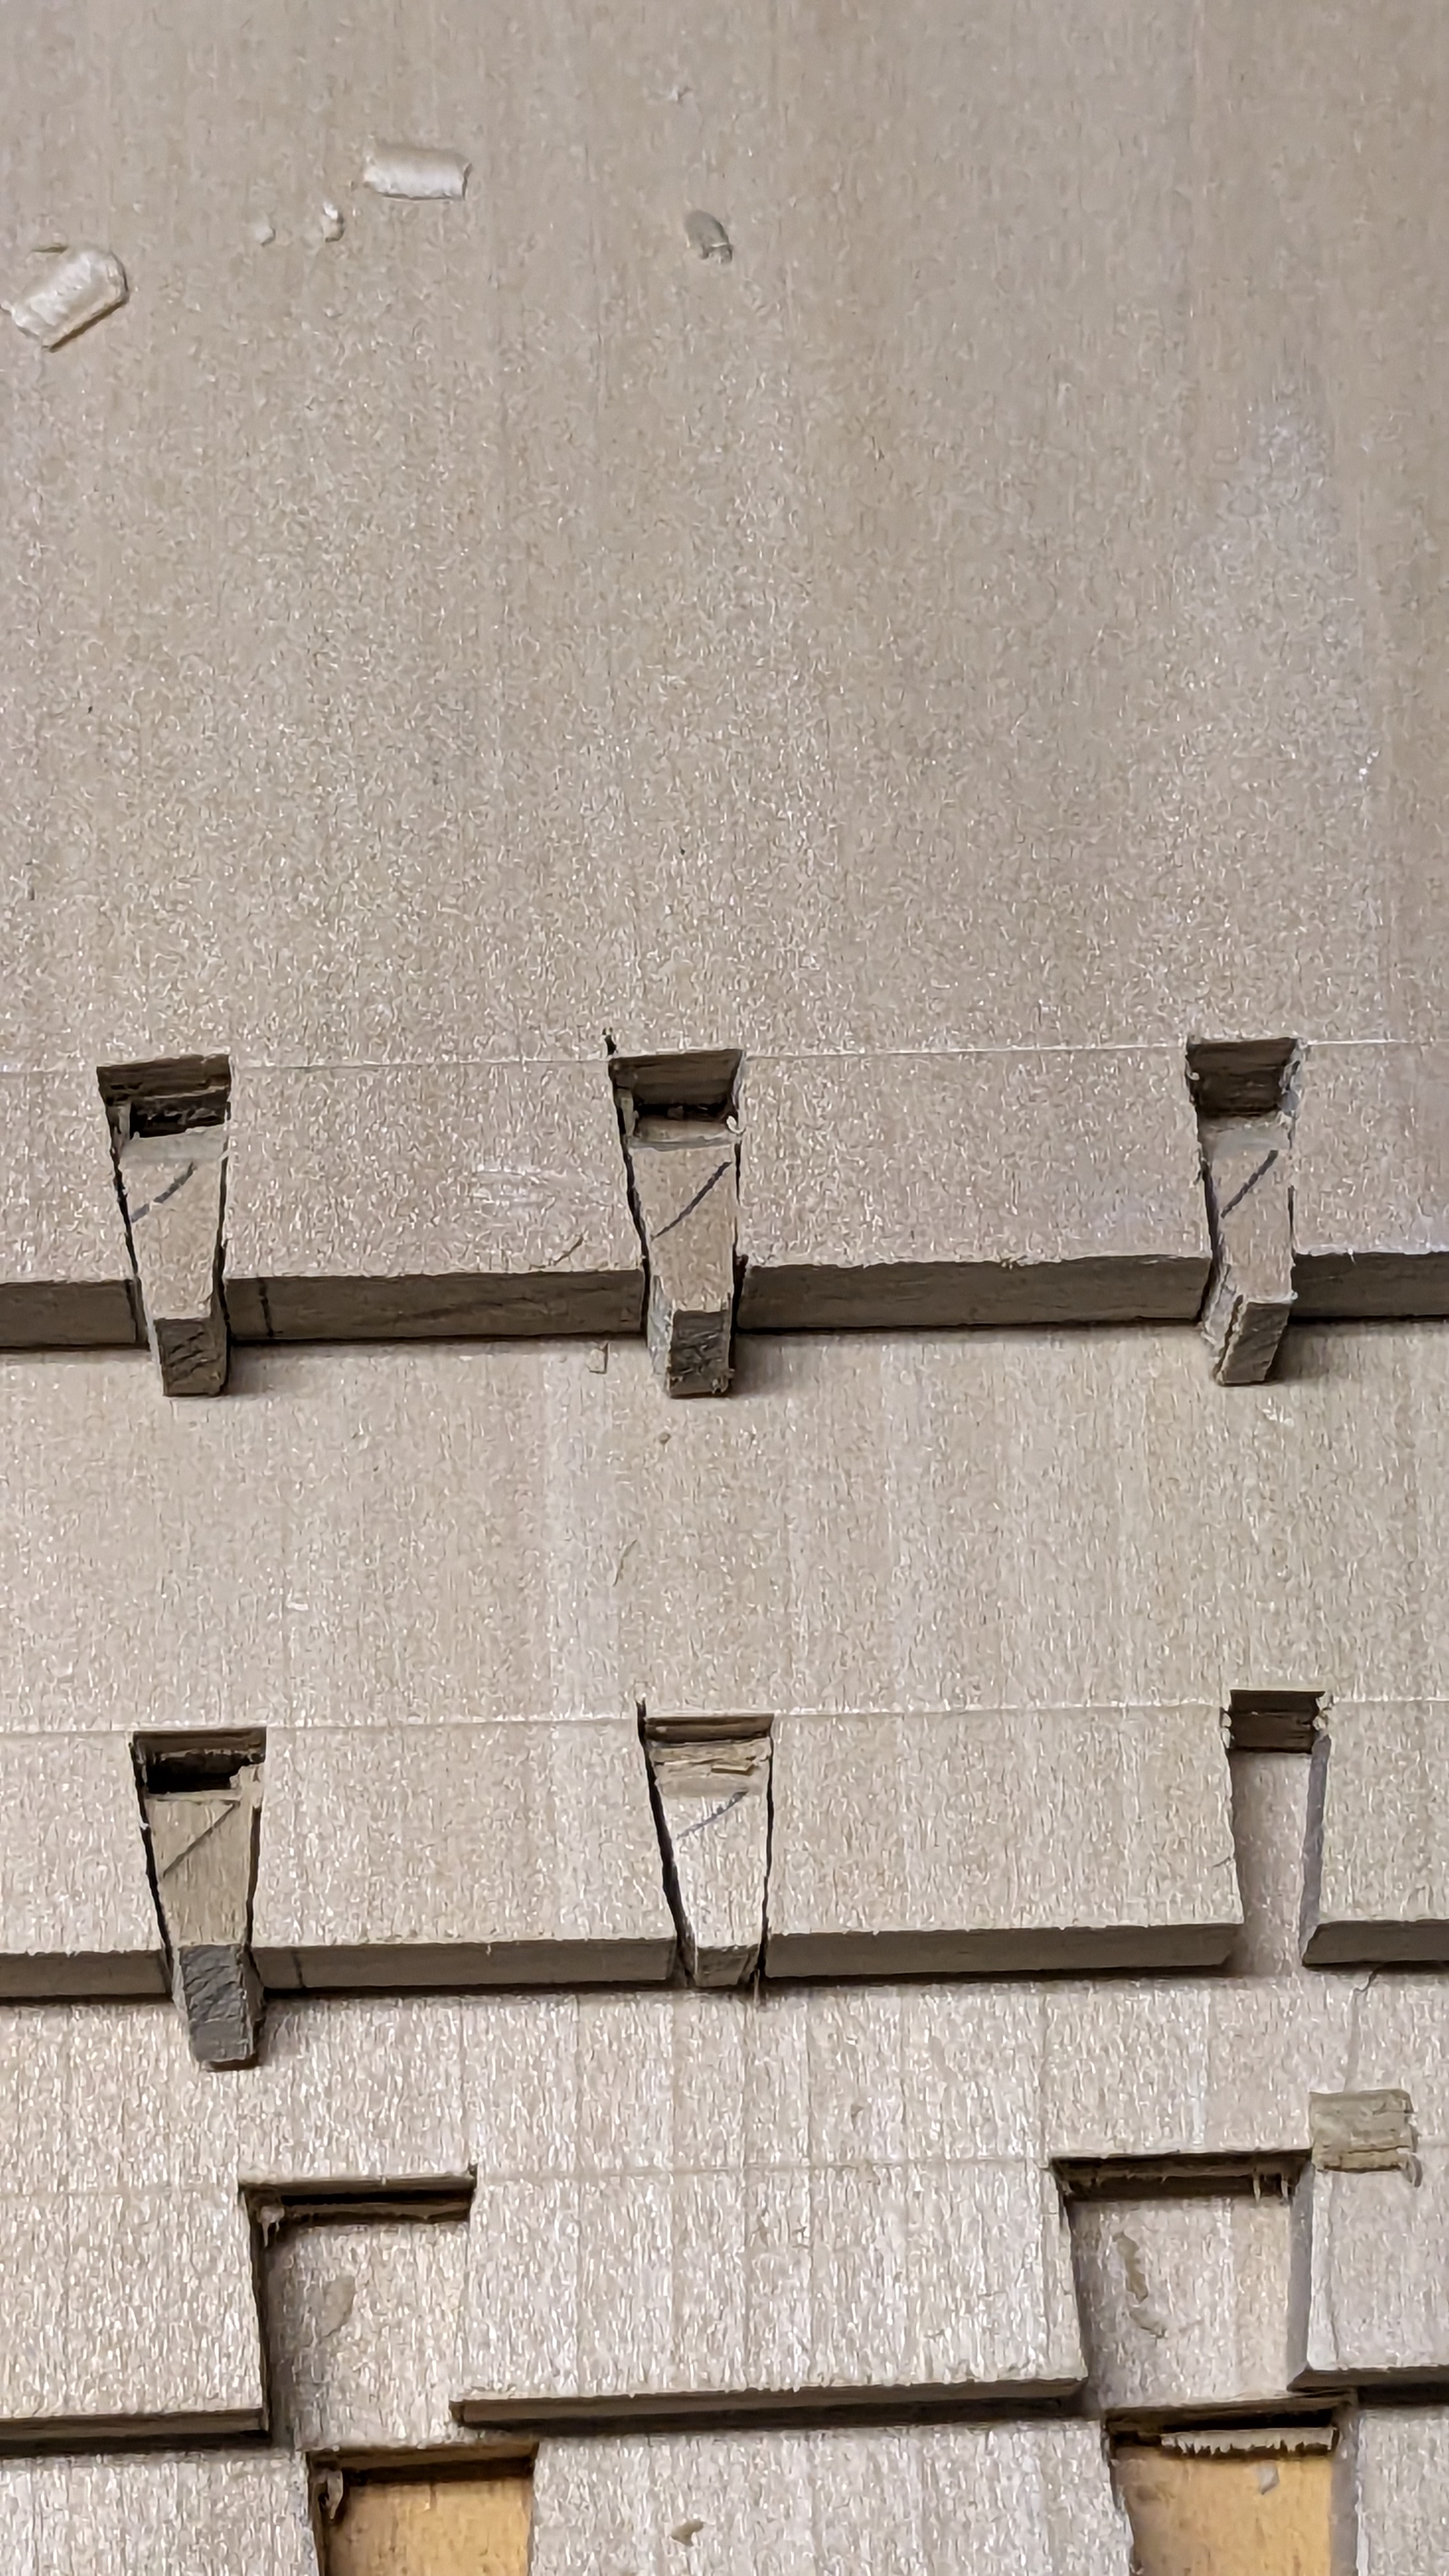

Coping saw
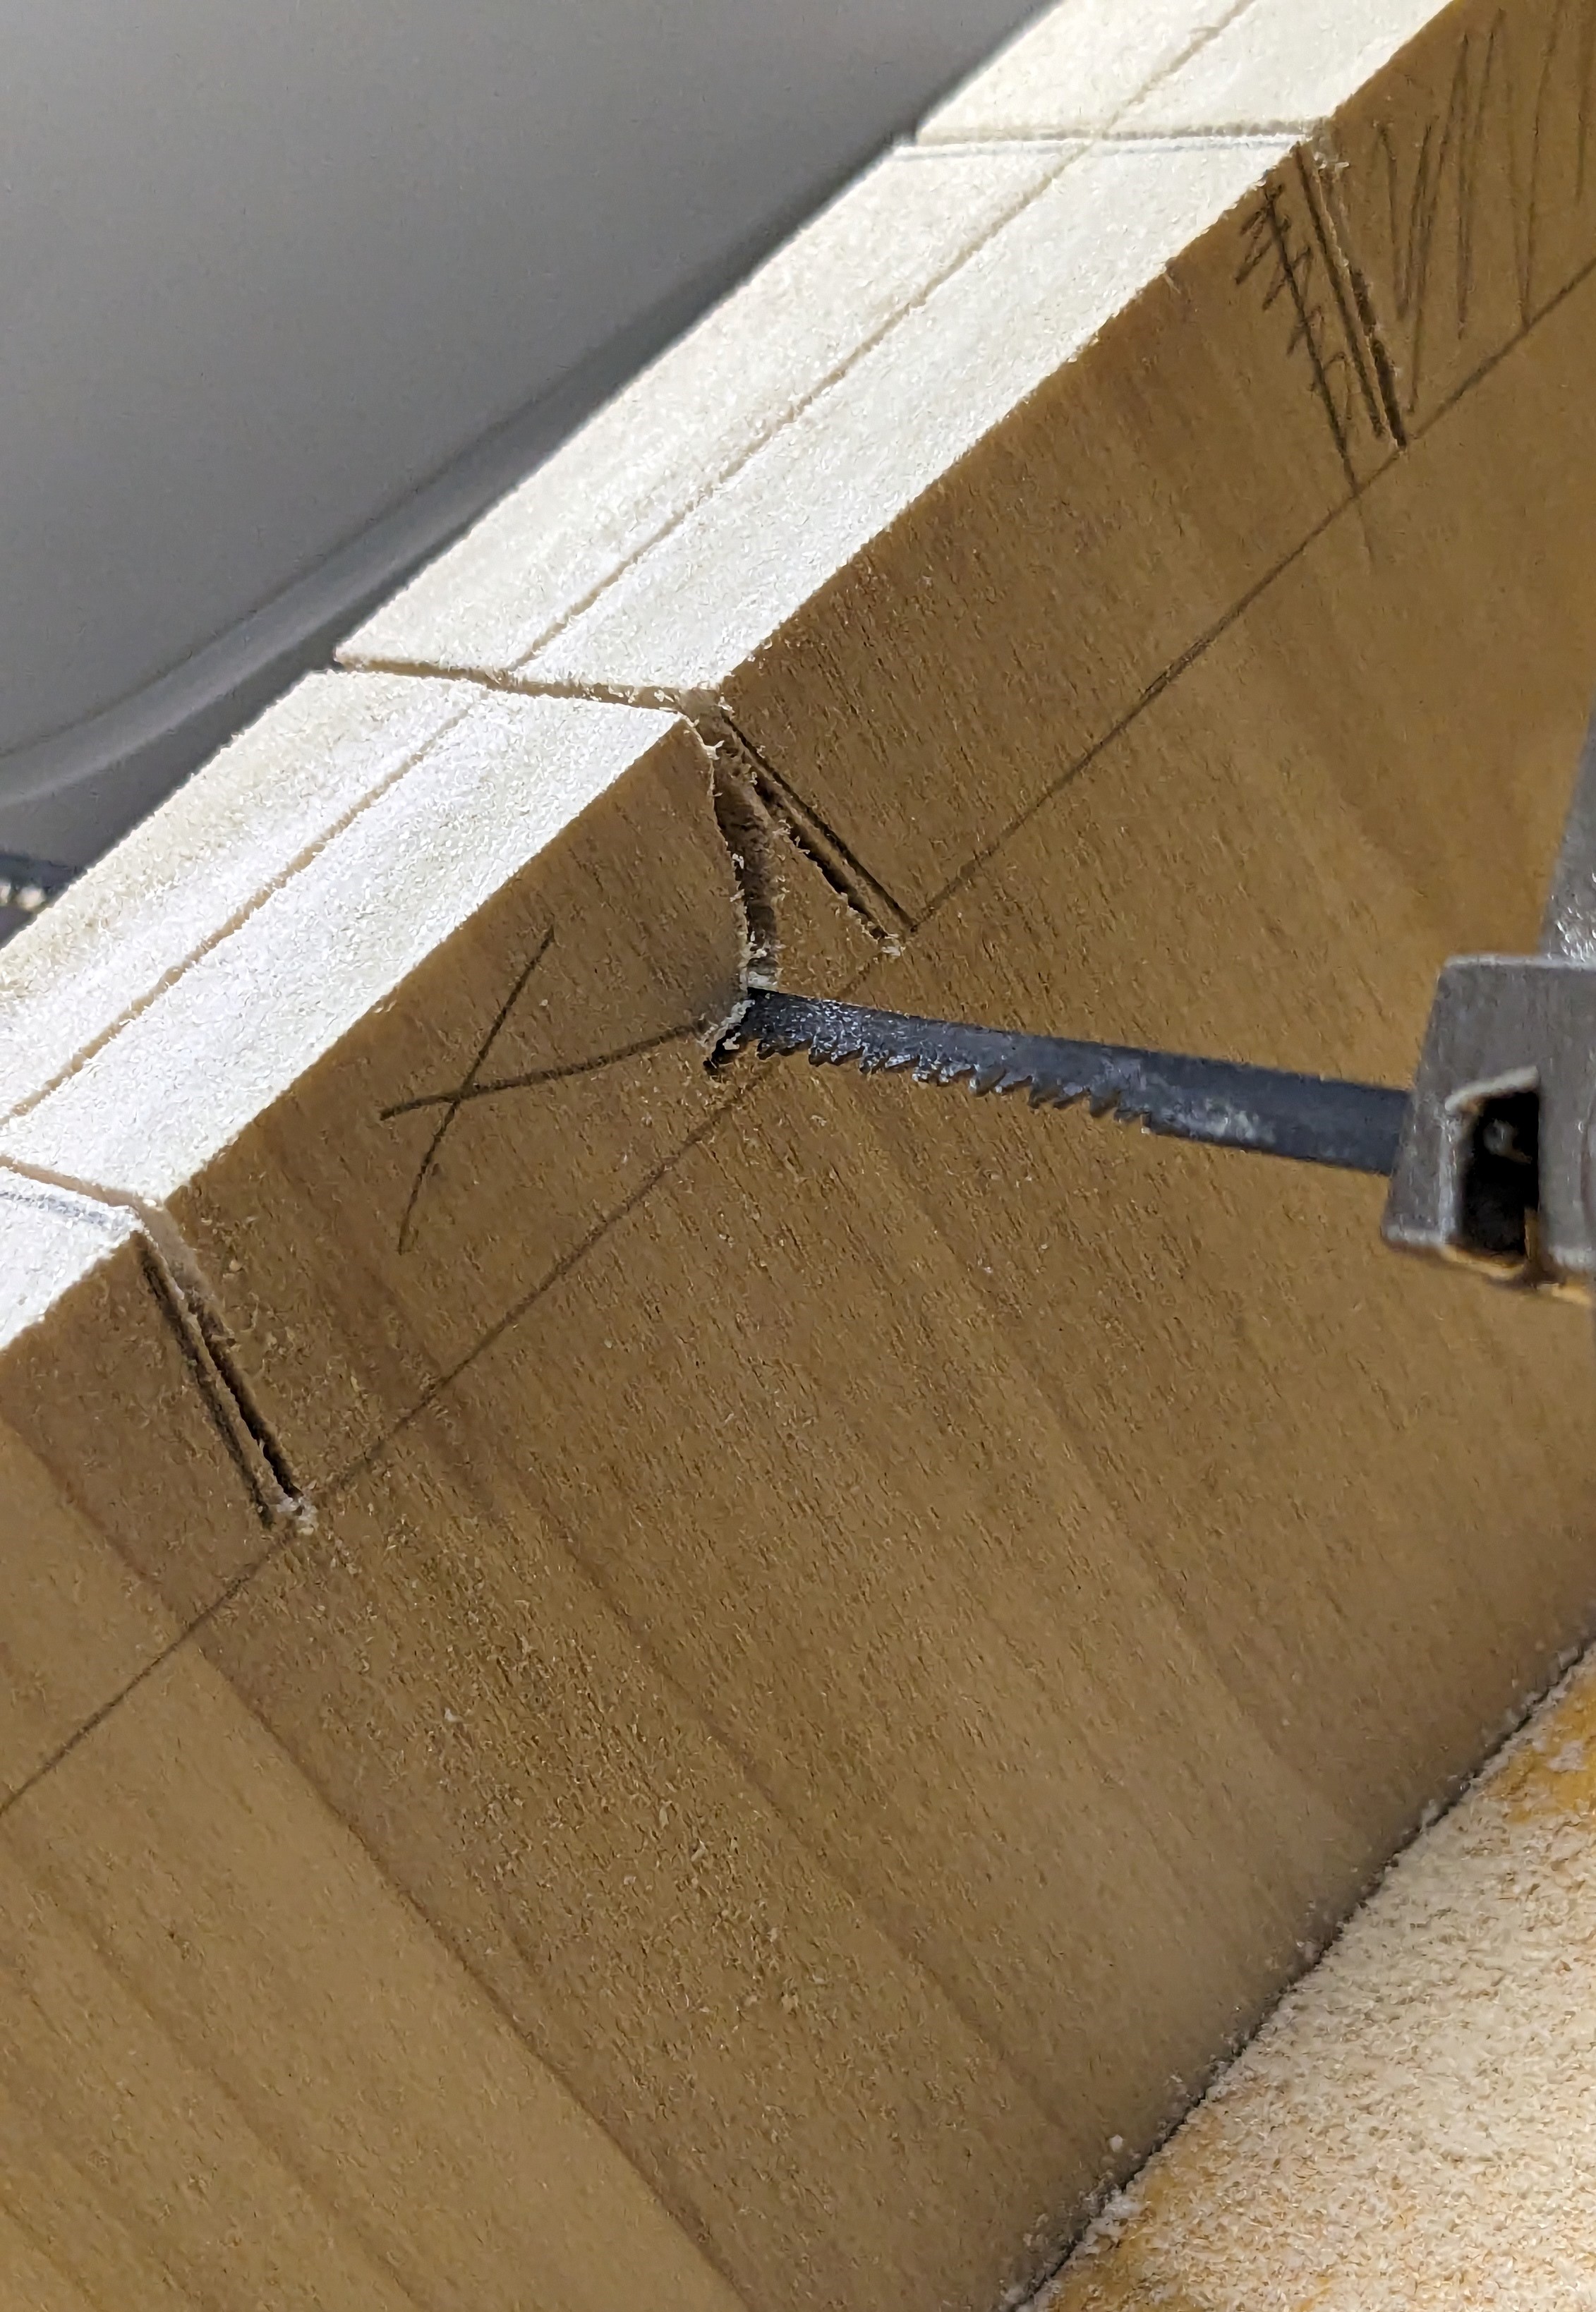
A faster way of removing the waste is by using a coping saw. You can use a thin blade to fit into the kerf (slit from the previous cuts) but I prefer using a thicker saw, which makes wider turns but cut faster. In this way the bulk of the waste material before the chiseling stage.
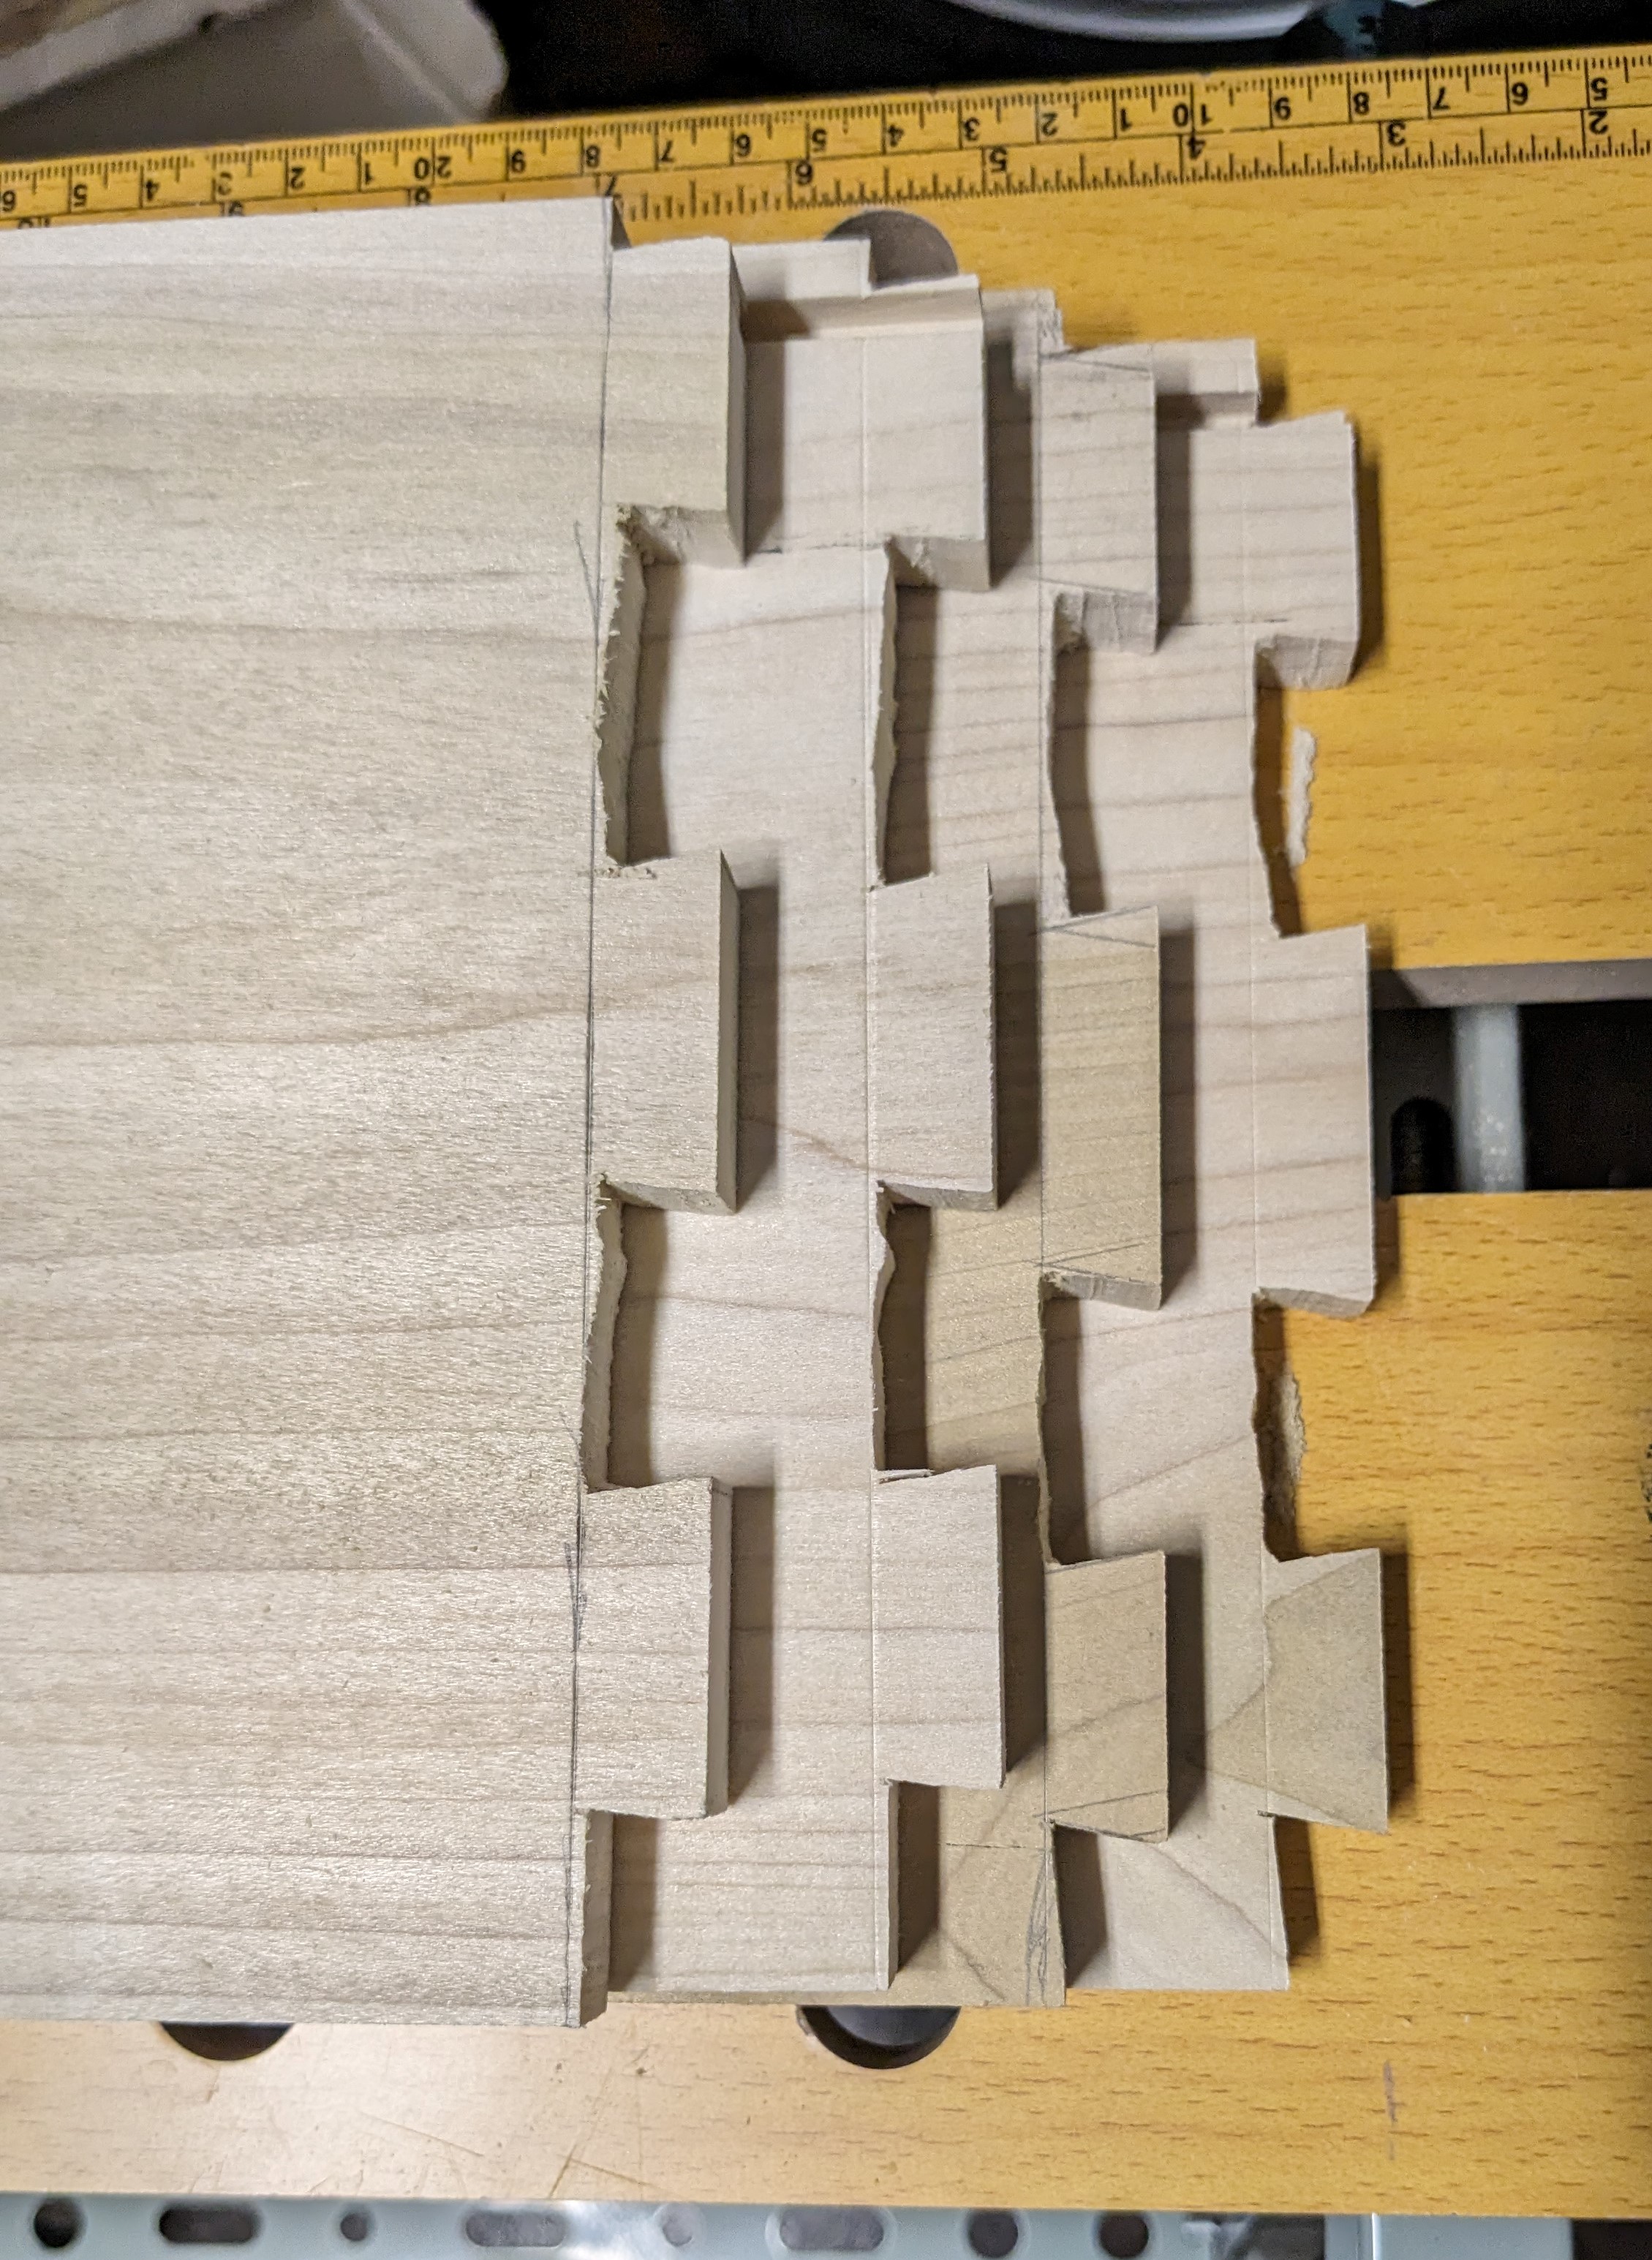
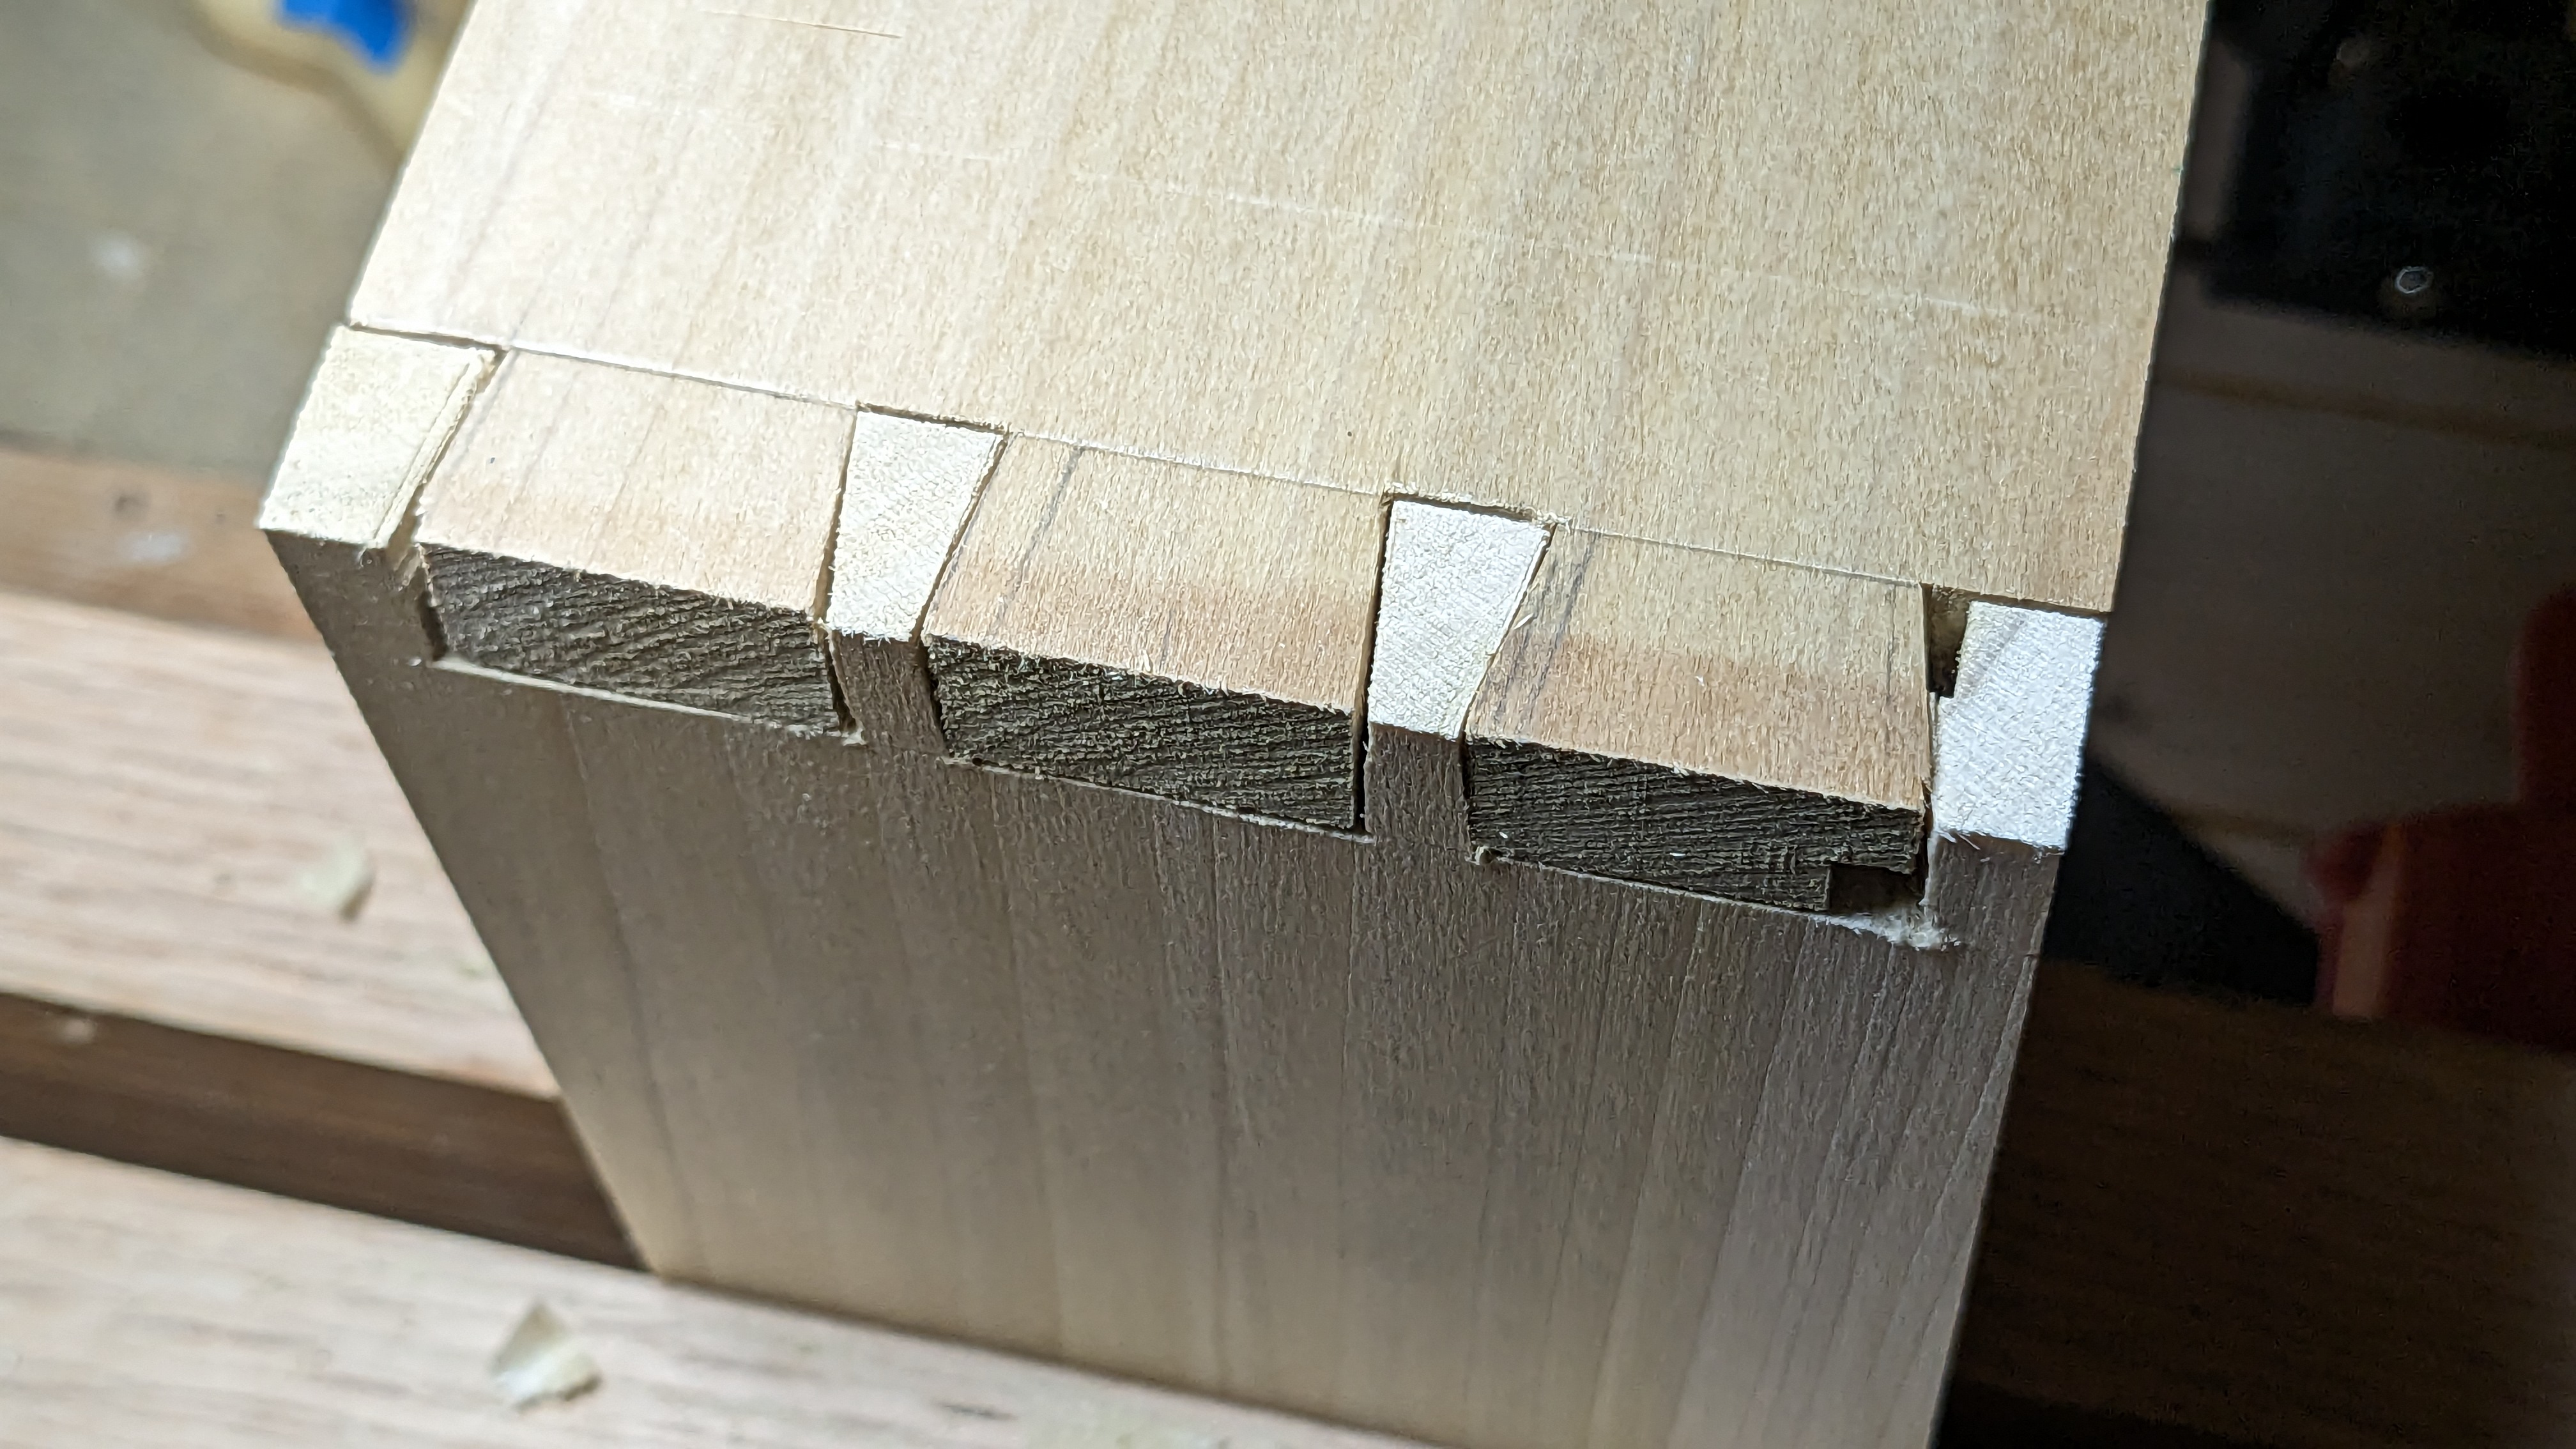
Fitting the pins
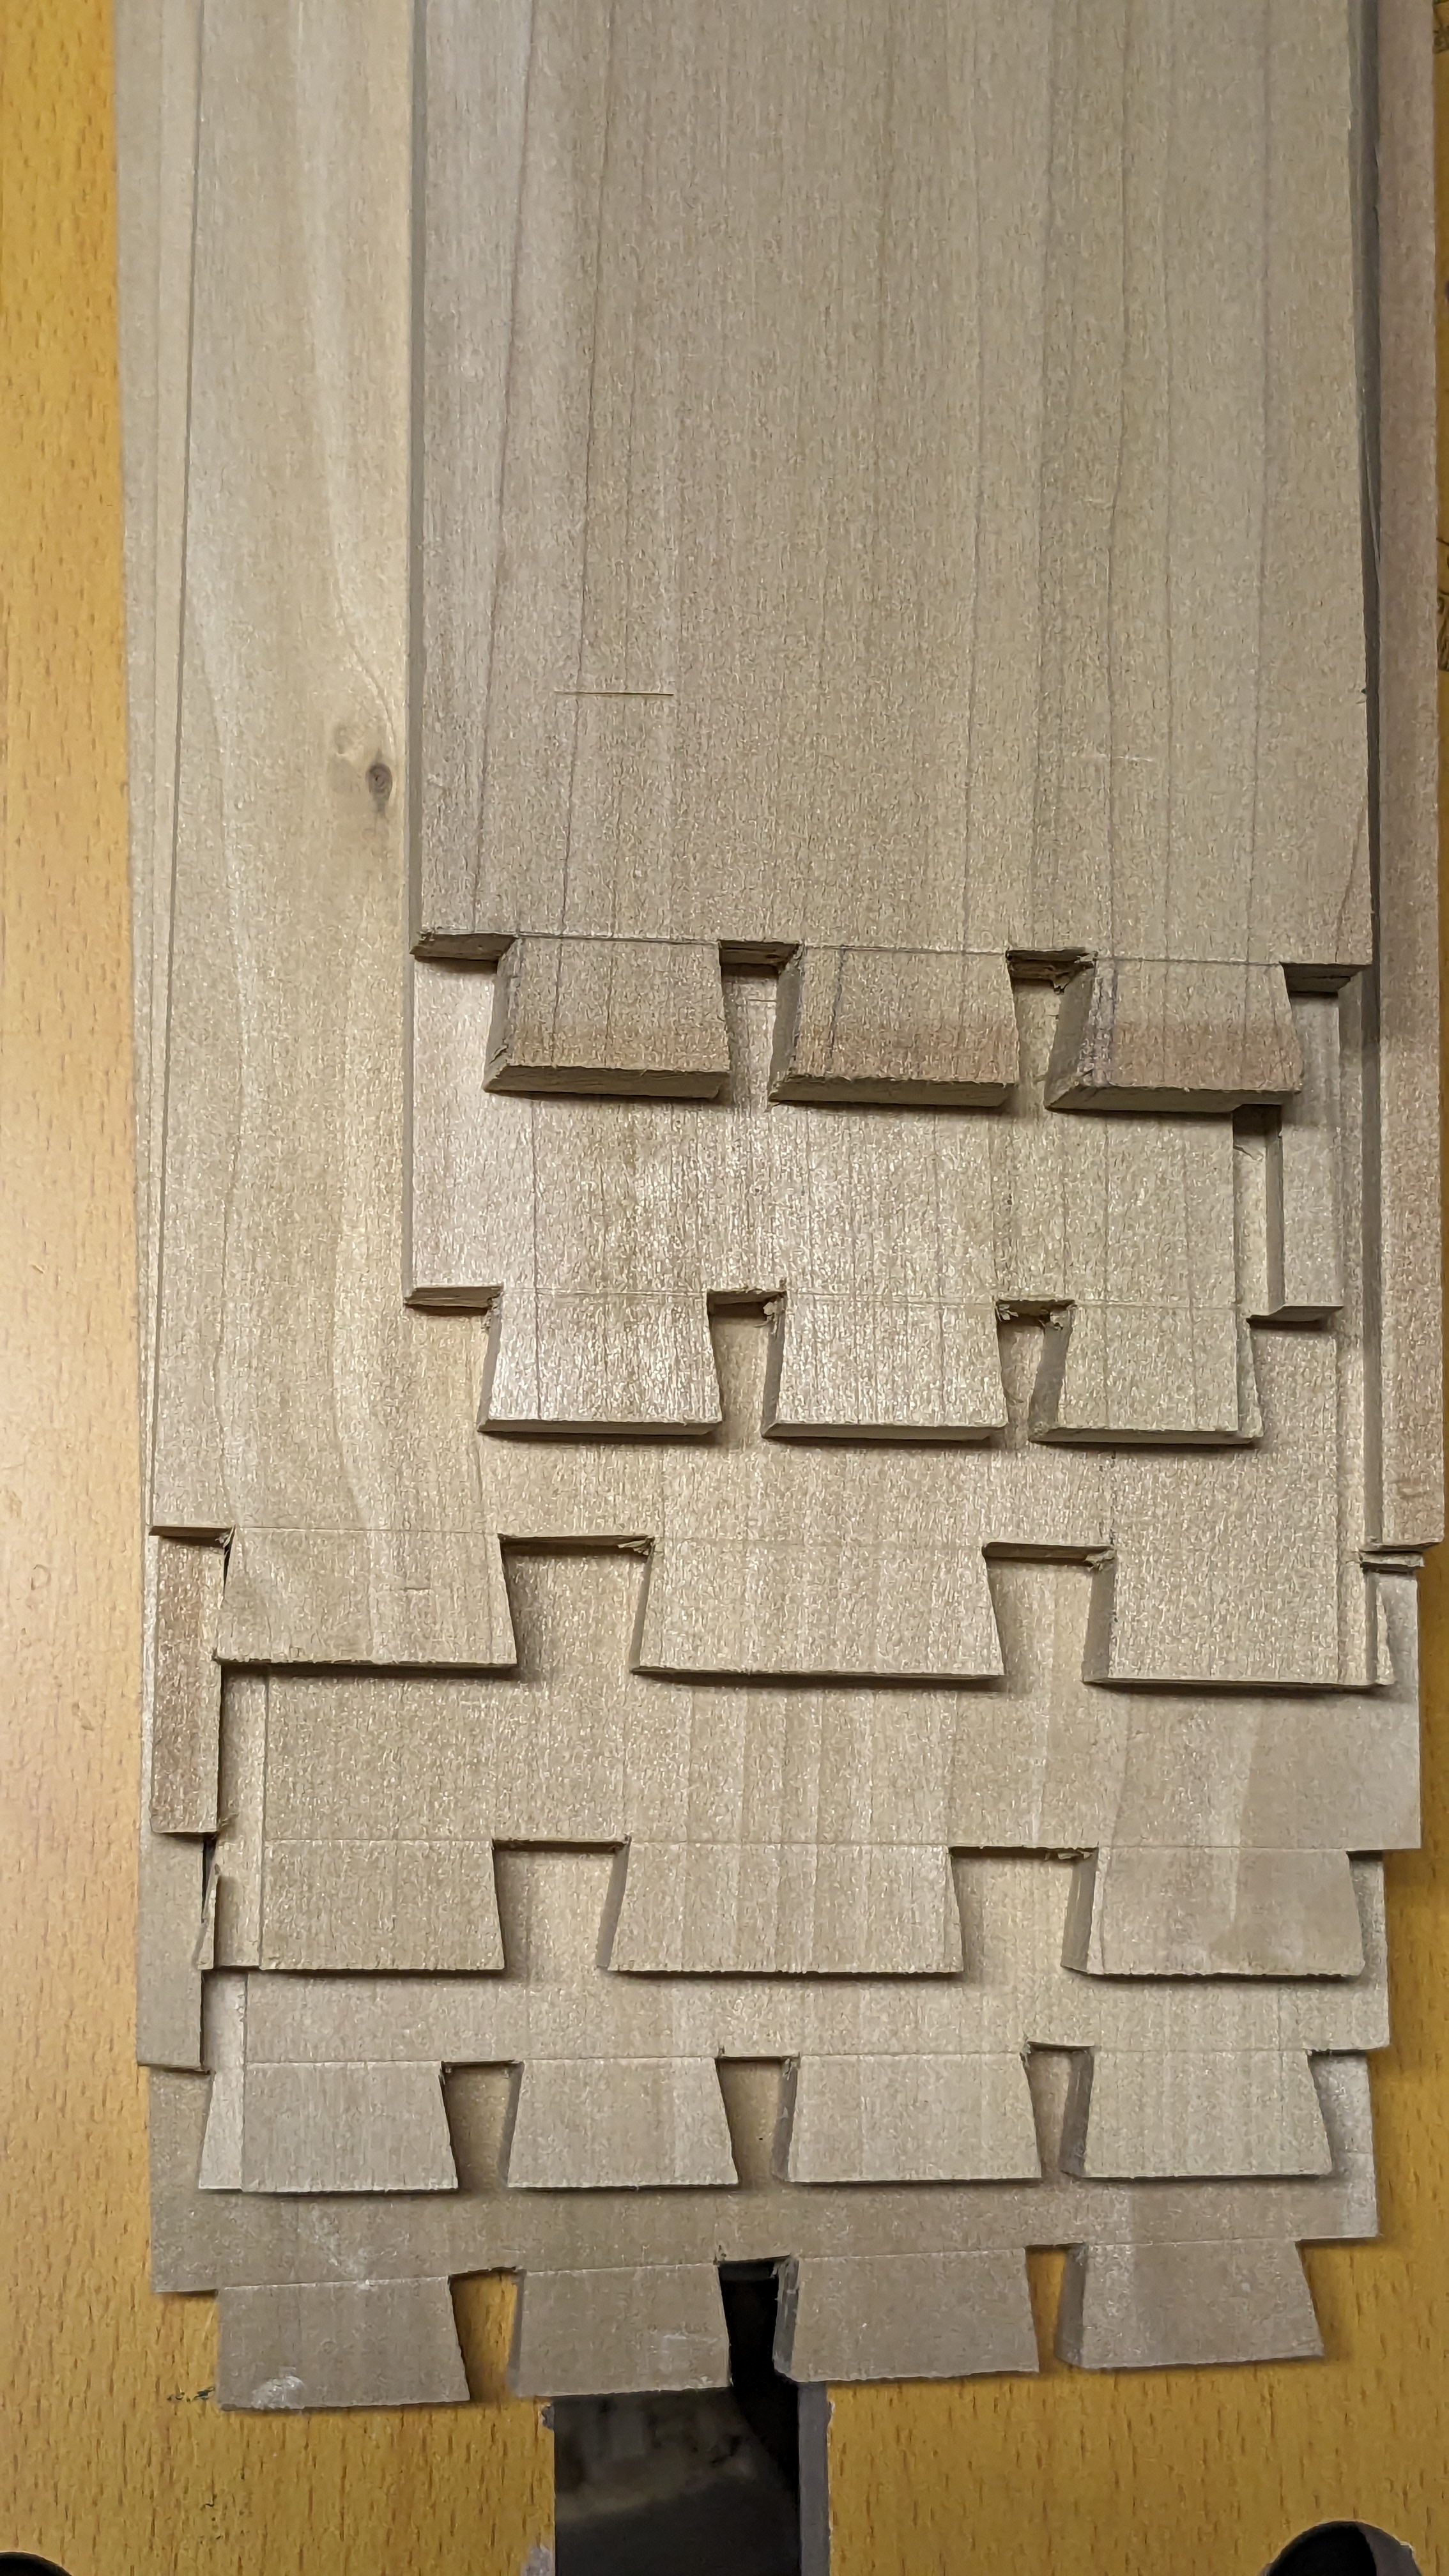
Cutting the pins is conceptually the same, except the layout is based on the already cut tails (as opposed to whatever looks good). A little gappy but not the worst for a second box (fifth corner), and it will be much improved when glue expands the wood and the gaps are filled with sawdust. The gap on the bottom tail / pin is from the drawer bottom groove. You could avoid this by having a wider tail or just construct the drawer with a different type of bottom, but this works for me.
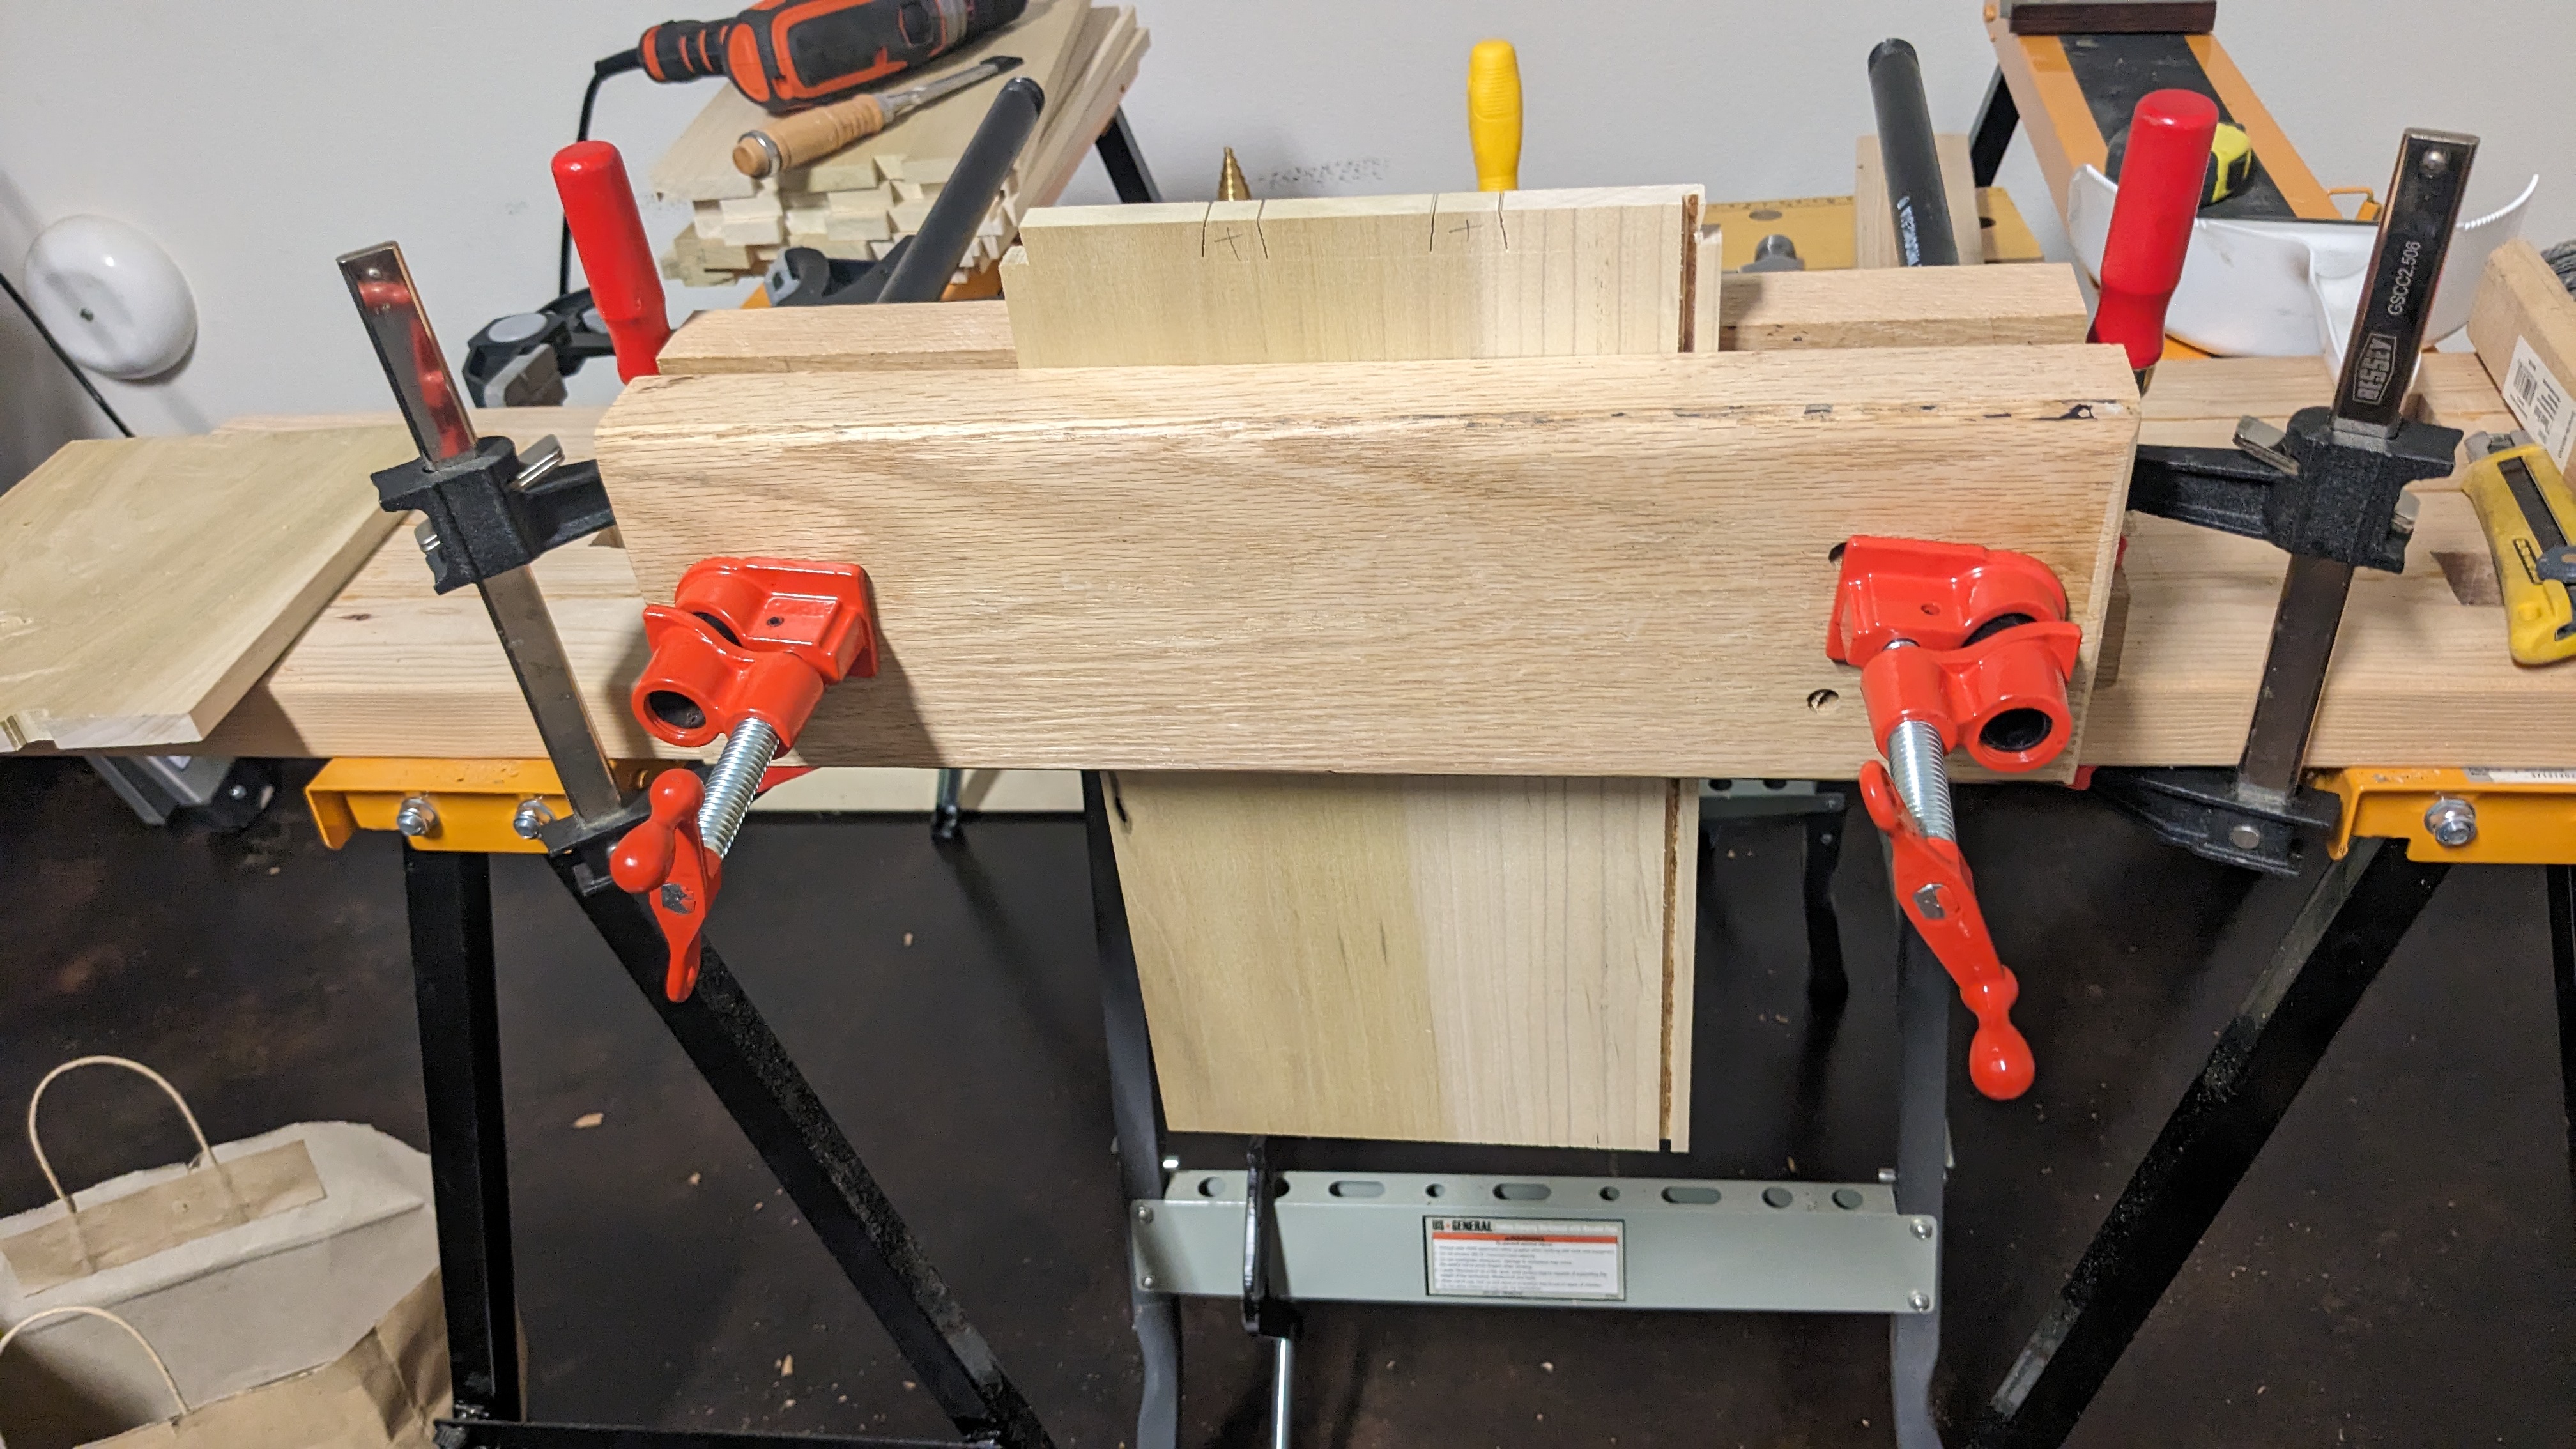
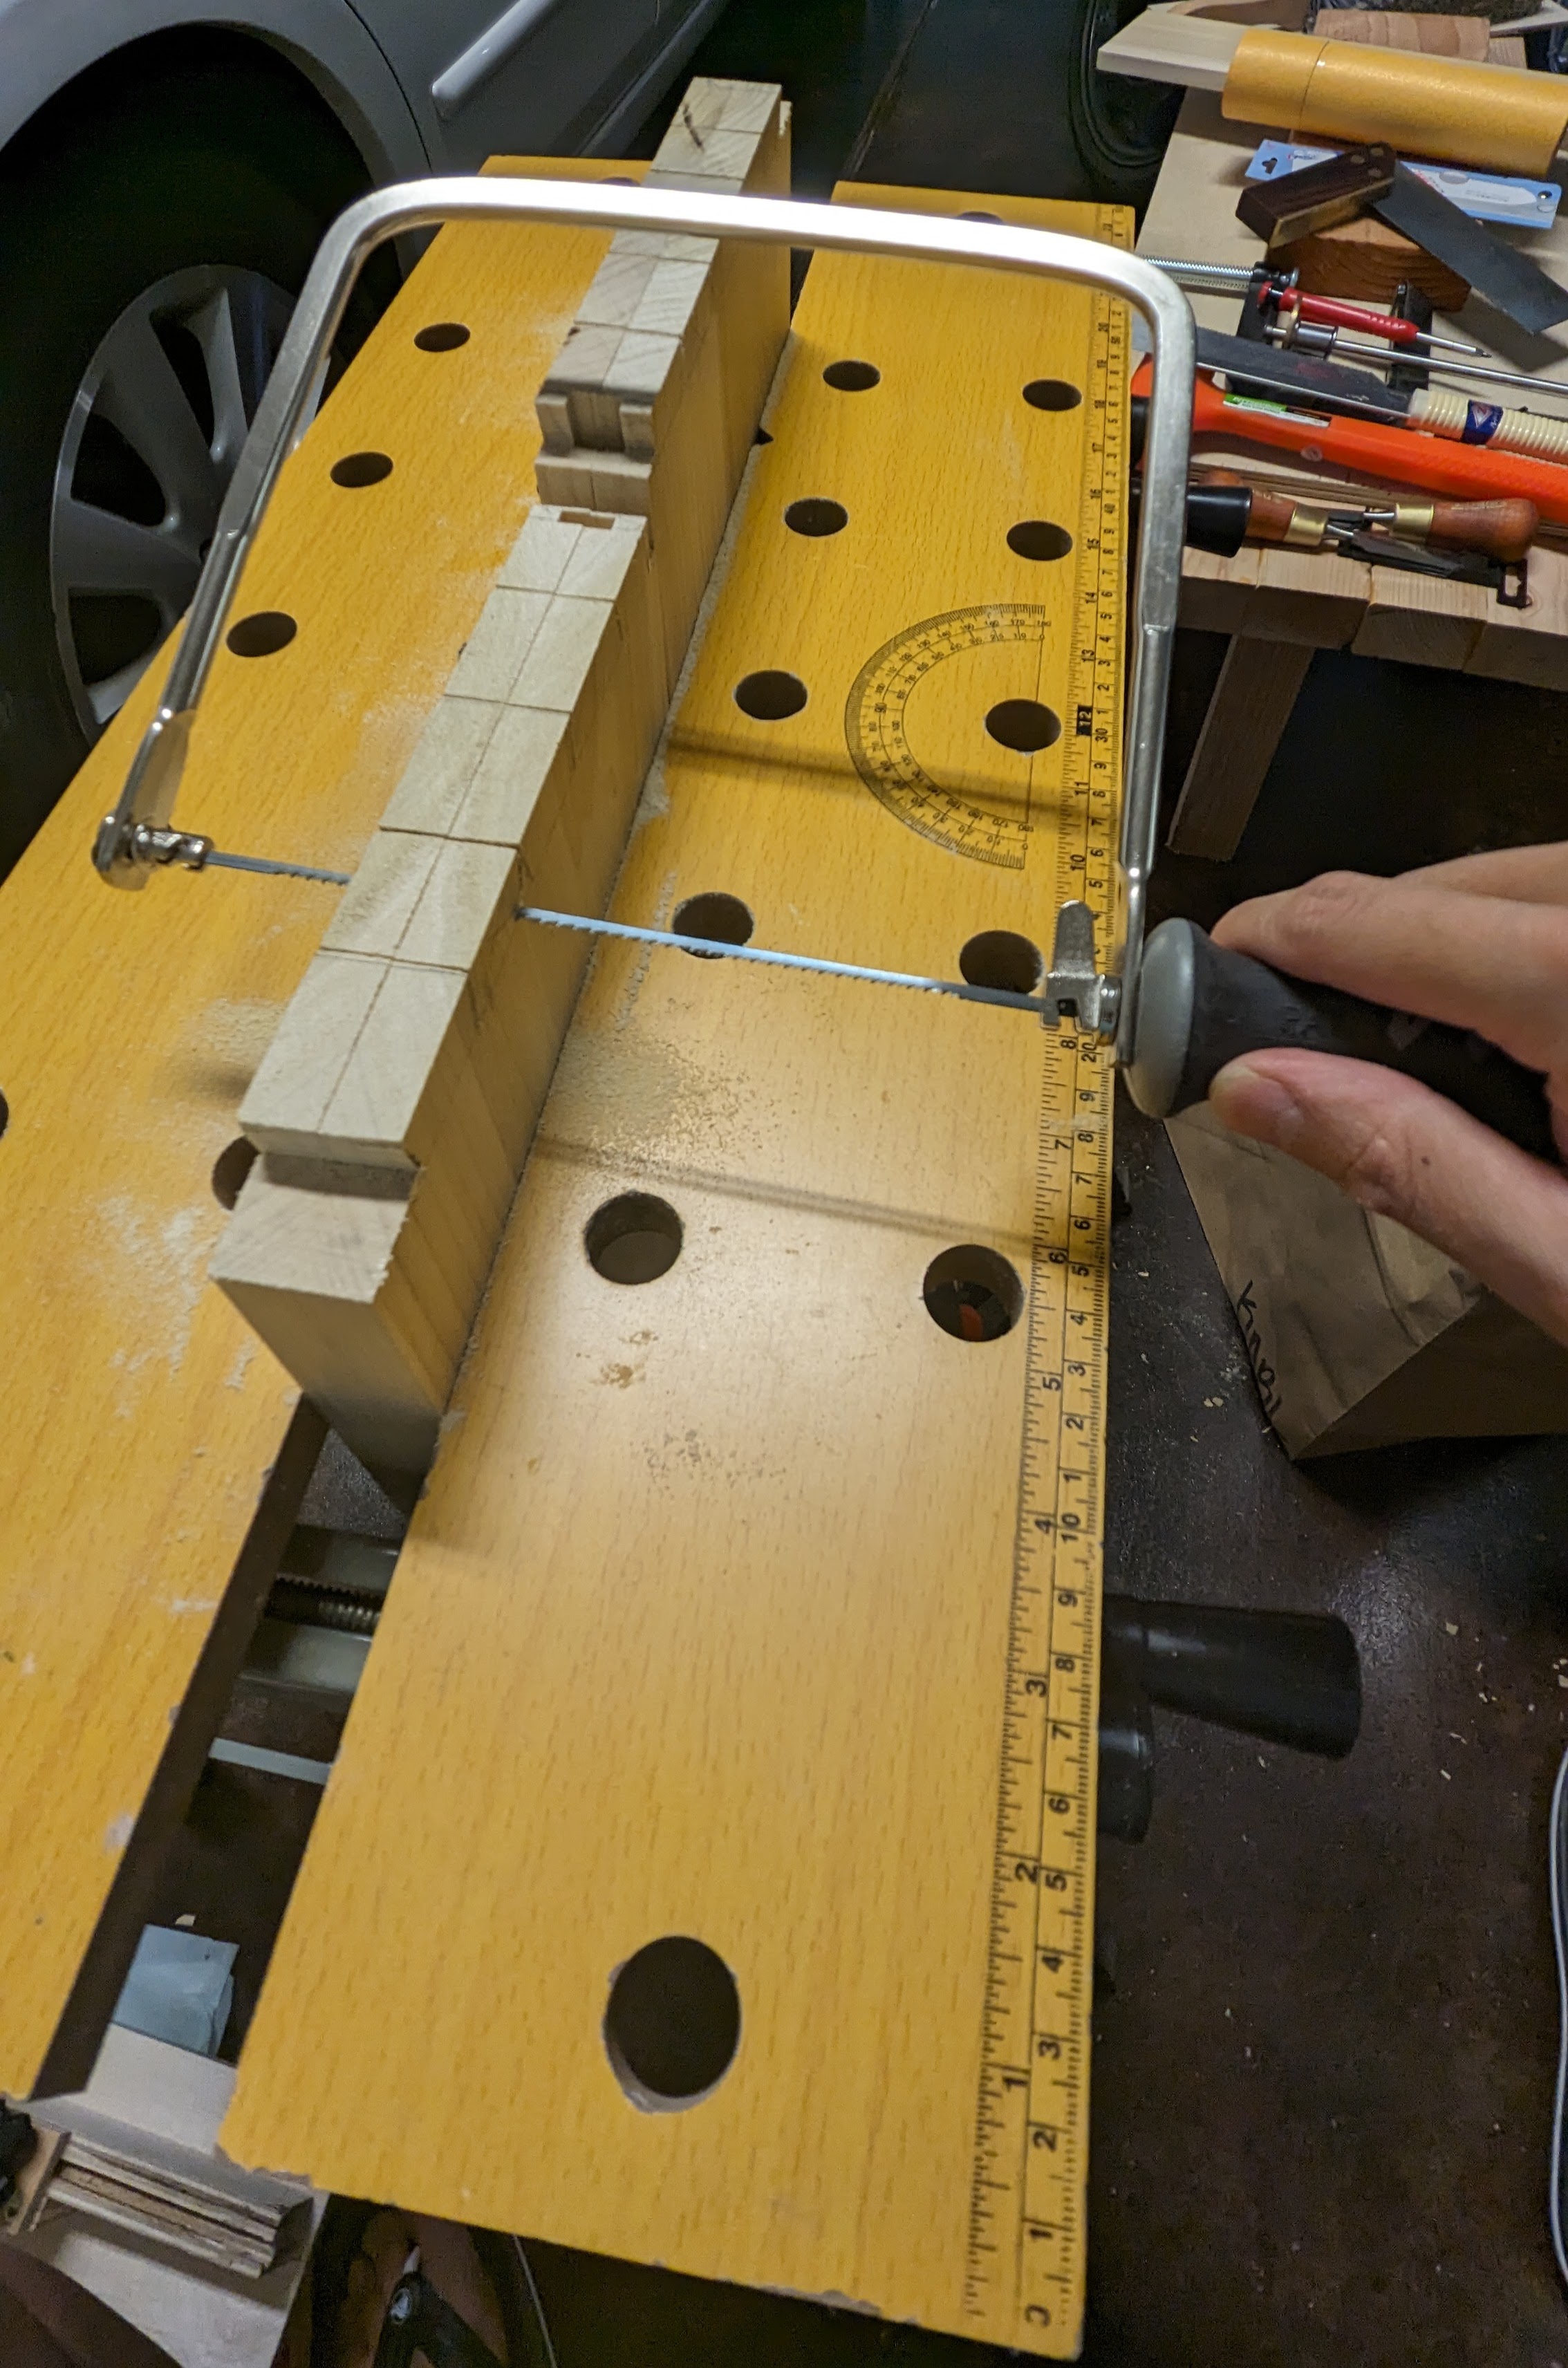
Moxon vise
It’s been a while since the last update, but you may have noticed from the photos that my work holding solution has been upgraded. In fact, instead of working in between two parked cars, I’ve dedicated one corner of the garage to woodworking. Pictured below is the current iteration of my temporary Franken-bench, but one fixture that has dramatically improved the ergonomics (and thus speed and accuracy) is this Moxon styled vise sitting atop the bench. The jaws are reclaimed white oak which were previously chair rails at a middle school, and instead of buying dedicated hardware I opted for spare bar clamps. Moxon vises are probably the best for dovetails; the work is raised above the bench, so sighting and sawing occurs at a more natural position. Now that I have a dedicated space, a better workbench is in order… Stay tuned!