Chest of Drawers Part 1: Drawer sides

I realized something about myself: creative projects always get to a sucky point, and by the time I push through and wrap up a project, I’m so over it that posting about it is the last thing on my mind. So I’m trying something new and writing about it as I go.
The Project
I’ve been using a plastic utility cabinet as a dresser for 15 years now, and while it ain’t broke, I’m overdue for an upgrade. Really, the prompt is that I recently started file-folding my clothes and realized how much more appropriate a chest of drawers would be. Uhm actually: a chest of drawers is a single vertical stack of drawers and usually taller than it is wide, while a dresser has multiple columns. But I’ll be referring to the project as a dresser build. I’m designing it as I go, but I managed to find some nice 1/2” poplar boards to practice my dovetails on.
Drawer sides
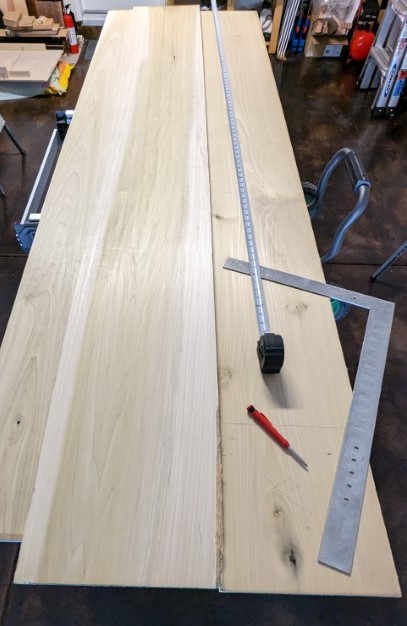
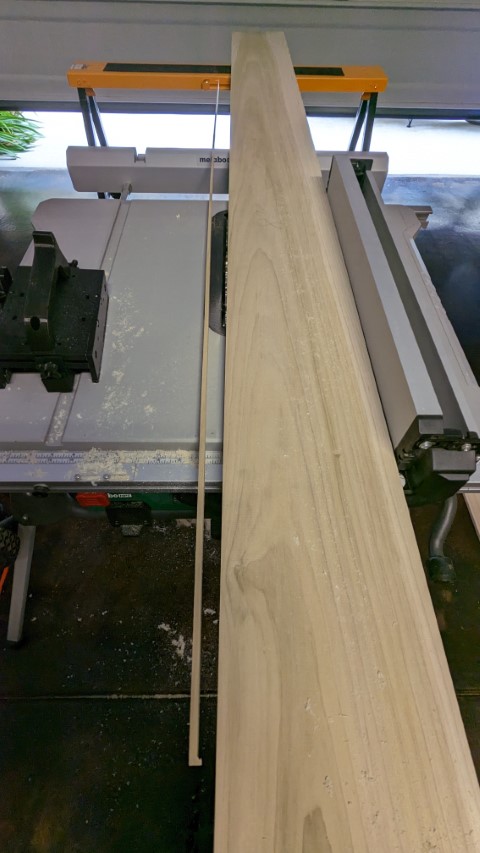
The boards I got were 8’ long. Most lumber from the yard comes in varying width, so I picked out enough boards to build my six graduated drawers. Thankfully the boards did not have any defects in the middle, so each 8’ board was plenty for all four sides of a drawer box. I laid out my lines and trimmed the board to rough length with a circular saw, making sure to account for the three additional cuts’ blade width - wish I had a miter saw! The boards I bought were surfaced-2-sides (S2S) with a straight line rip on one side, meaning I had to rip the opposite edge to make a true rectangle (see the tapered offcut, from a board that was ~1/4” wider at one end). I also ripped a 13” board into two for a shallower and a depper drawer. It’s almost sacrilegious to make a wide board narrow, but in this case the board had a bit of a cup, and ripping it down results in two boards that are more workable than the original.
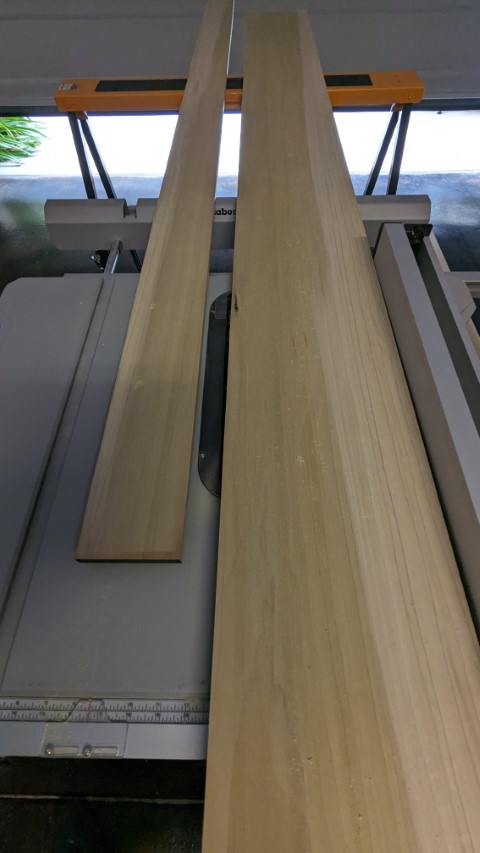

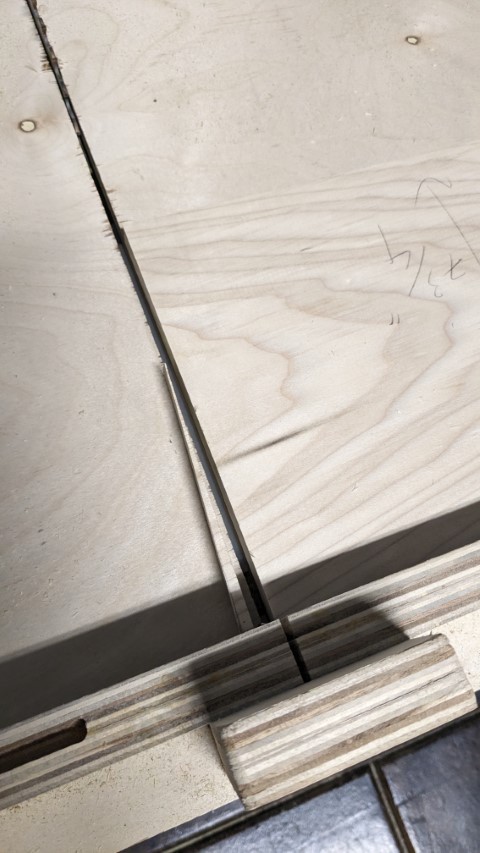
Next I used my crosscut sled and cut two sides from each board, then the fronts and backs from each board. That way, I didn’t have to keep measuring and readjusting between the boards. I did end up making a mistake when transitioning from cutting the sides: I cut out a front that was 1” shorter than the back! Thankfully I have a couple spare boards, so cutting a replacement was simple enough. If you don’t make a mistake, did you really even do anything?
A crosscut sled is great at making square cuts; the little wedge shaped offcut is a mistake introduced by my freehanded circular saw cut from the beginning. A 1/4” mistake over a 7 3/4” board is significant and would have made putting this drawer together impossible.
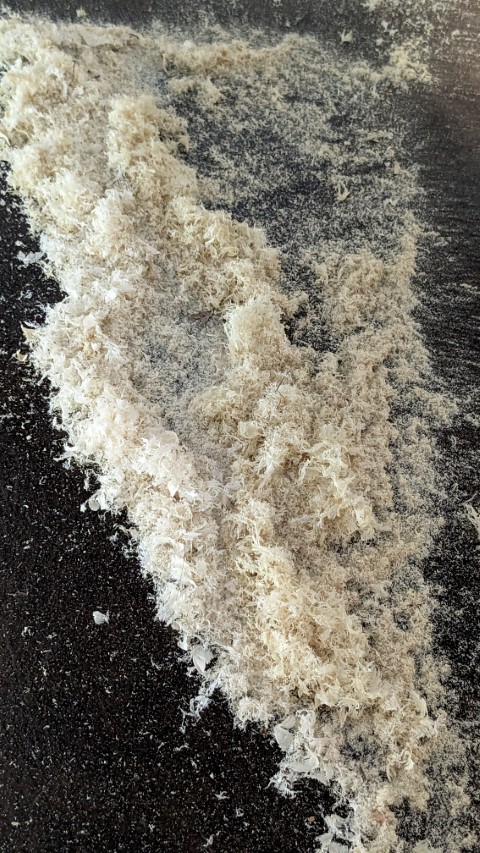
So much saw dust. Maybe about 10x pictured was not captured by the vacuum I had connected to the saw. It’s so fluffy, somehow I had a mental image of a miniature dog frolicking in it.
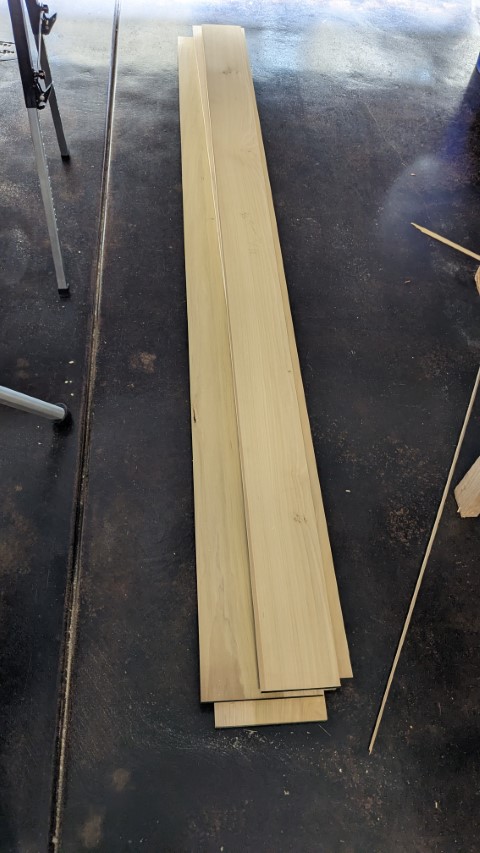
24 boards ready for hand work! I’ve also stickered the wood (i.e. stacked them with spacers) to allow for airflow. The idea is that after boards are cut, some tensions may be relieved and the moisture content also needs to reqeuilibrate. The airflow helps even drying / rehydration, minimizing any twists or cups. I’m not too worried, but it’s good practice.

By the way, those boards at the bottom are pieces of cherry, which will also be used for this dresser. I guess you could say that it’s the cherry at the bottom. Thanks for reading!